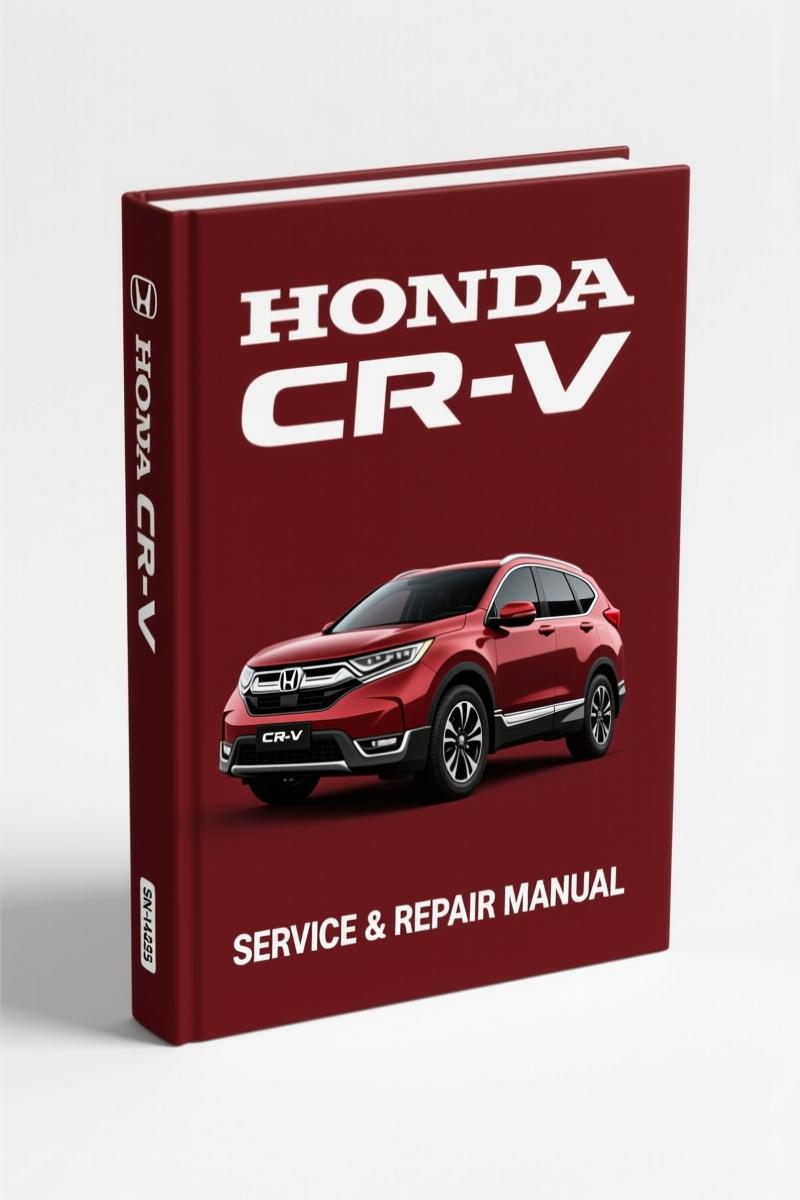
Honda CR-V Repair Manual
I’ve seen too many guys ruin an A/C compressor because they guessed the clutch nut torque. This Honda CR-V Repair Manual – 74 pages of factory documentation for the 2007–2009 HVAC system – is what you need on the bench next to your manifold gauge set. Skip the aftermarket PDFs that leave out the important spec. This one came from Honda’s own engineering files.
A/C System Tips and Precautions – Read This First
Page 21-6 lists the exact precautions for handling refrigerant and oil. If you’ve ever mixed PAG oils or overcharged a system, you know why this matters. The manual tells you which oil to use for the CR-V’s Denso compressor and how much. Don’t skip the step about checking the thermal protector – page 21-63 has the clutch check procedure. I’ve seen a compressor lock up because someone ignored the protector test.
Component Location Index – Stop Guessing Where Parts Live
Pages 21-3 through 21-5 show exactly where the evaporator core, condenser, pressure sensor, and relays sit. No more hunting under the dash. The index even gives the relay test page numbers – for example, the blower motor relay test is on page 22-66 (referred from this manual). If you’re replacing a blower unit, the manual walks you through removal and installation starting on page 21-55. Evaporator core replacement? Page 21-57. Heater core? Page 21-59. Each procedure includes fastener locations and harness routing.
Circuit Diagrams and FTC Troubleshooting – Electrical Diagnostics That Work
The circuit diagram on page 21-18 is factory-verified. I’ve traced A/C signal circuit issues using that diagram (page 21-45) and found a broken wire at the connector every time. The FTC troubleshooting section (page 21-20) covers the most common failure codes for the HVAC control unit. If the recirculation control motor quits, page 21-34 gives the circuit test. Blower ground issues? Page 21-36. Condenser fan slow speed circuit? Page 21-37. Each step lists the expected voltage and resistance values. You don’t guess – you measure and compare.
Evaporator Core Replacement – Step-by-Step
Pages 21-57 to 21-58 detail the core removal. You’ll need a backprobe set (Special Tool 07SAZ-001000A, page 21-2) to test the evaporator temperature sensor before pulling the box. The manual tells you to discharge the refrigerant first – page 21-68 has the recovery steps. I’ve seen DIYers skip the system evacuation (page 21-69) and end up with moisture in the system. Don’t be that guy.
Refrigerant Recovery, Evacuation, and Charging – Get the Specs Right
System charging procedure on page 21-70 gives the exact high- and low-side pressures for 80°F ambient. No guesses. Leak test instructions on page 21-71 – use an electronic leak detector, not soap bubbles on the service valves. If you’re replacing the receiver/dryer desiccant, page 21-67 tells you the torque for the line fittings. Over-tighten and you’ll strip the aluminum threads. Under-tighten and you’ll leak.
This manual is 74 pages of nothing but HVAC. No engine section, no transmission – just the stuff that controls your cabin temperature and defrost. For the full vehicle service information, check the Honda CR-V Service Manual. If you’re working on earlier models, the Honda CR-V 1997-2000 Service Manual – Section: Restraints covers airbag-related HVAC harness routing, and the Honda CR-V 1997-2000 Service Manual – Section: Special Information includes refrigerant change history. For an Automotive Industry Overview on refrigerant evolution, reference the SAE standards. Also see Automotive Industry Overview for global repair guidelines.
- Does this manual include refrigerant capacity specs?
- Yes – the system charging page lists the factory charge weight in ounces.
- What if my CR-V has a different model year or engine?
- This manual specifically covers 2007-2009 CR-V models with the 2.4L engine. If your CR-V is outside that range, many HVAC components (like the blower motor and evaporator) are shared across generations, but wiring and compressor connectors differ. You’ll need the model-year-specific manual to get the correct torque specs and pinouts. Using the wrong wiring diagram can blow a fuse or worse. I’ve seen a DIYer try to use a 2006 diagram on a 2008 – they ended up replacing the entire HVAC control unit because they backprobed the wrong terminal. Save yourself the headache: get the manual that matches your chassis VIN.
Download the Factory Manual from AutoRepairManuals and put a piece of Honda engineering on your workbench. No reprints, no generic aftermarket – this is the same doc the dealer techs use. Your AC will thank you.


James L. –
I am very pleased with this transaction. It is easily zoomable on my laptop without losing quality. Every torque spec is included for Honda CR. I will definitely buy again.
Richard G. –
This is just what I required. Quick download after checkout process. It guided me to fix my Honda CR electrical connector. Worth every penny.
Charles W. –
Excellent workshop guide. The document looks clean. It helped me to troubleshoot my Honda CR engine. Highly recommended for mechanics.