
Aichi SP12C, SP14CJ, SP400C, SP460CJ, SP12CSM Service Manual
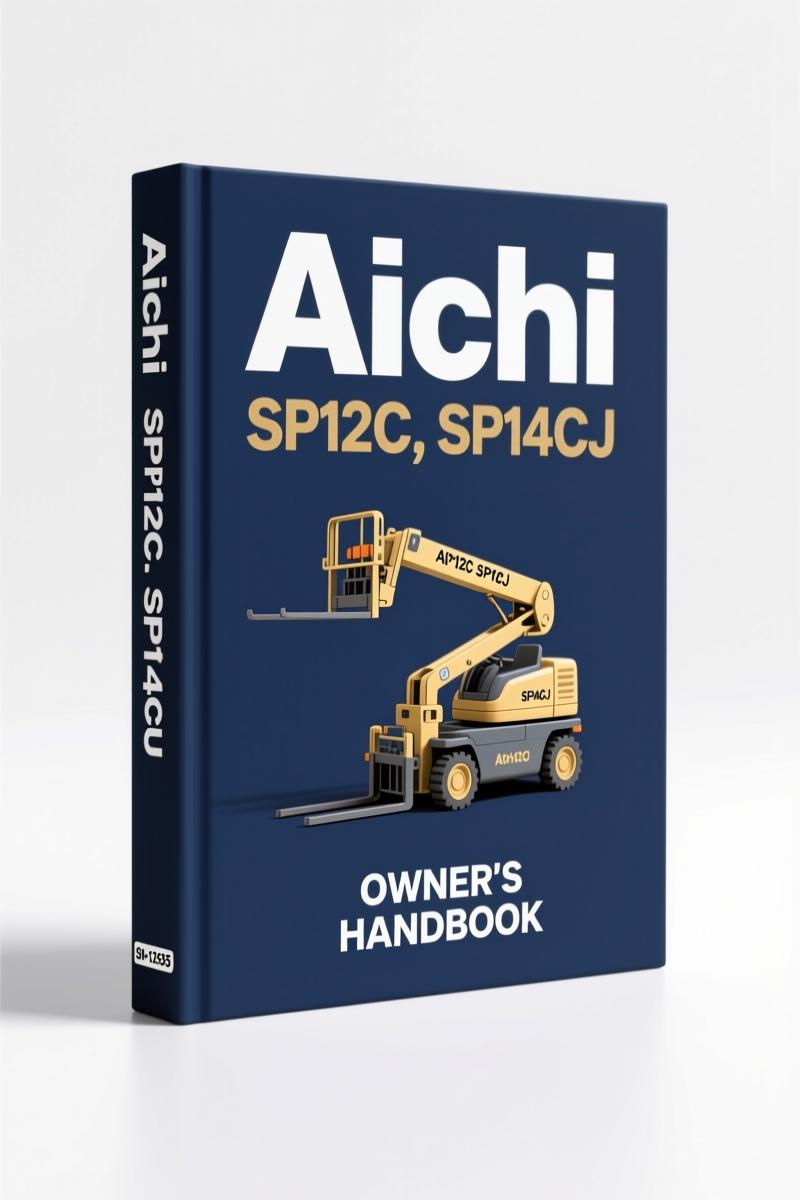
If you are working on an Aichi boom lift and you don’t have the factory Aichi SP12C, SP14CJ, SP400C, SP460CJ, SP12CSM Service Manual on the bench, you are guessing. I have seen too many guys try to fudge torque values on hydraulic fittings or guess at the pin count on a CPU board. Stop it. This 173-page OEM document for the SP12C, SP400C, SP14CJ, SP460CJ, and SP12CSM is what you need. Forget the aftermarket translations that leave out half the safety warnings. This one comes straight from Aichi.
Mechanical Components: Boom Wire Rope Adjustment
Chapter 2 covers the boom structure, inspection procedures, and the extension/retraction wire rope adjustment. Page 3 shows the model code breakdown so you know exactly which variant you have—SP12CSM, SP14CJM, SP400C, SP460CJ. The manual spells out the cable guide removal and installation steps. If you skip the wire rope tension procedure, you will get cable bunching inside the boom. I have seen it. Do it by the book.
Hydraulic Component Locations and Relief Valve Settings
Chapter 3 lists every hydraulic component: HST pump, gear pump, emergency pump, main control valve, elevation cylinder with its single holding valve, telescope cylinder, boom rotation motor, rotary actuator, and the valve unit for platform leveling and steering. The manual includes the flow divider and travel motor details. You cannot set a relief valve without the factory numbers. Period. Aftermarket manuals give you a range. Aichi gives you the exact PSI—and that matters when the platform is at full height.
Does This Manual Cover Both CE and ANSI Models?
Yes. Chapter 1 gives separate specifications for CE models (SP12C, SP14CJ) and ANSI models (SP400C, SP460CJ). You get overall dimensions for each—SP12C CE model dimensions, SP14CJ CE dimensions, SP400C ANSI dimensions, SP460CJ ANSI dimensions. The work range diagram and safety devices section are in there too. Safety warnings start on page 2—read them. Aichi makes it clear: no modifications without written approval. That is not a suggestion.
7 Scheduled Maintenance Sections
Chapter 7 is where you live if you are running a fleet. Scheduled maintenance table, lubrication points, scheduled replacement parts, daily inspection check sheet, periodical inspection check sheet. The manual tells you which parts must be replaced on a schedule—load-supporting components like chassis, turntable, boom sections, and platform. You want a liability shield? Follow that table.
Troubleshooting by LED Indication
Chapter 5 covers troubleshooting with LED indication on the CPU boards. The manual walks you through travel shooting (LED flash patterns) and emergency operations. If the tilt sensor (longitudinal, lateral, or omni-directional) flags a fault, you need the correct limit switch test procedure. Guessing here gets you a machine that locks out for no reason.
Aichi SP12C/SP400C/SP14CJ/SP460CJ/SP12CSM Service Manual: Source Authenticity
This is an OEM Aichi document, not a third-party reprint. The original file name is AICHI_SP12C-SP400C-SP14CJ-SP460CJ-SP12CSM_Service_Manual_en-50209019104.pdf. The manual includes the factory hydraulic circuit diagram, electric circuit diagrams for upper and lower controls, and electric wiring diagrams for upper, lower, and engine. Plus a standard tightening torque table. I trust this because Aichi published it. Aftermarket manuals swap wire colors and skip the scheduled replacement parts list. Do not trust them.
If you need the operation manual for daily use, check Aichi SP12C SP14CJ Operation Manual. For parts breakdown, get AICHI SP12C, SP14C Parts List PA00133A. For similar models, see Aichi SR18AJ, SR21AJ, SR18A, SR21A, ISR60J Service Manual. Understanding basic drivetrain theory helps with the travel motor—read up on Manual Transmission and Manual Transmission.
- Does the manual include wiring diagrams?
- Yes, Chapter 8 has full diagrams.
- What torque specs are listed?
- The manual includes a tightening torque standard table in the appendix (page 173 area). However, for critical components like the elevation cylinder mounting bolts or the turntable bearing, you must refer to the specific procedure in the mechanical or hydraulic sections—never use a generic bolt torque chart. Aichi provides the exact values based on bolt grade and thread pitch. That is the difference between a safe machine and a lawsuit.
Download the Factory Manual now and put the OEM procedures on your tablet. No guesswork, no aftermarket shortcuts. Just the original Aichi data.

diy_master –
This is just what I required. It is easily zoomable on my iPad without blur. It helped me to rebuild my Aichi SP12C/SP14CJ/SP400C/SP460CJ/SP12CSM electrical connector. Great value for money.