Skip to content
Sale!

2004 Acura TSX Service Manual – OEM Factory Specs

Original price was: $25.80.Current price is: $20.00.

OEM factory service manual for the 2004 Acura TSX. 79 pages covering air bag systems, diagnostics, and safety precautions. Direct from American Honda.

SKU: 13709000570 Categories: , , Tags: , , Brand:

2004 Acura TSX Service Manual – Factory OEM Documentation
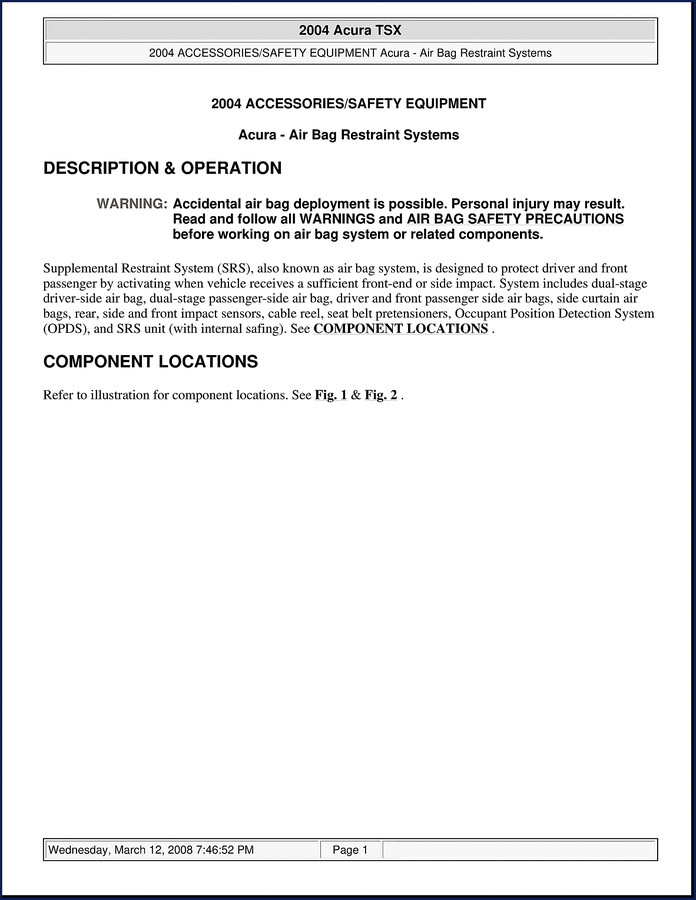
2004 Acura TSX Service Manual cover showing restraint system component locations

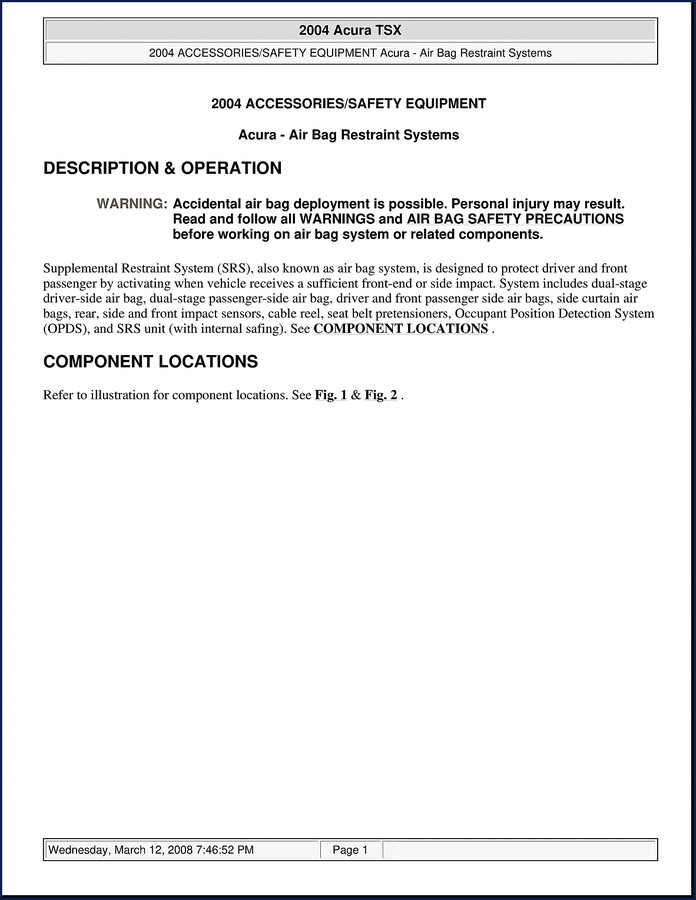
If you are working on a Acura TSX 2004 Service Manual is the only document you should have open on the bench. I have seen too many techs skip the air bag safety precautions because they grabbed a third-party reprint that cut corners. That gets people hurt. This is the real deal – 79 pages of American Honda Motor Co., Inc. documentation, scanned from the original 2004 factory release. Page 1 alone has the warning that accidental deployment can cause injury, and the manual does not let up from there.

2004 TSX Restraint System: Factory Coverage

The SRS section runs from the component location diagrams (two full-page figures on pages 2 and 3) through the system operation check and every air bag safety precaution. Page 3 tells you to wait at least three minutes after disconnecting the battery before touching anything near the SRS unit. It also specifies that only a digital multimeter with output of 10 milliamps or less can be used for diagnostics. That is not a suggestion – it is the spec. The manual covers dual-stage driver and passenger air bags, side curtain bags, seat belt pretensioners, the Occupant Position Detection System, and the SRS unit with internal safing. Every connector location, every sensor location, every cable reel detail is there.

Why OEM Specs Matter for the SRS

Aftermarket manuals often skip the fine print. The factory document tells you that if the AIR BAG warning light illuminates while driving, does not illuminate at all, or flashes, you need to go straight to the DIAGNOSTICS chapter. No guesswork. It also reminds you never to install used SRS parts from another vehicle. I have had to fix botched jobs where someone reused a cable reel from a salvage car and the bag fired during a minor fender bender. That is what happens when you do not follow OEM procedure. This manual gives you the exact workflow, including the anti-theft code procedure for the radio before you disconnect the battery – something aftermarket docs always forget.

79 Pages of Factory Data

Every page of this manual was printed by American Honda Motor Co., Inc. The file is dated Wednesday, March 12, 2008, but the content matches the original 2004 release. That means the torque values, the component locations, the diagnostic trouble codes – all verified by the engineers who built the car. Turn to page 1 for the initial system description and warnings. Page 3 has the full list of air bag safety precautions you must read before touching anything. No fluff, no reprinted errors. Just the factory service data.

Understand the System Before You Touch It

Before you pull the steering wheel or remove the dashboard, read the SYSTEM OPERATION CHECK on page 3. The ignition switch must be on, and the AIR BAG warning light should illuminate for about six seconds then go off. If it does anything else, you have a fault. The manual walks you through the diagnostic flow step by step. It also tells you that you cannot disassemble the air bags or the SRS unit – there are no serviceable parts inside. Store removed air bags with the deployment side facing up. I have seen a stored bag deploy face-down and launch across a shop. That is a lawsuit waiting to happen.

Audience Fit: Who Needs This Manual

If you are a home garage enthusiast working on a 2004 TSX and you have never touched an air bag system, this manual keeps you from making a mistake that could cost you a windshield or worse. Professional mechanics: you already know that billing hours disappear when you have to hunt for a wire that a aftermarket diagram labeled wrong. Use the real thing. This manual is also for shop owners who want to keep liability low – having the OEM safety procedures on the rack means you can prove you followed the factory steps. Related manuals you might need: Acura TSX 2004 Service Manual”>Acura TSX 2004 Service Manual is the one you are looking at. Also check the Acura Integra 1998 Service Manual – OEM Factory Specs”>Acura Integra 1998 Service Manual – OEM Factory Specs if you work on that platform, or the 1993 Acura Vigor Service Manual – OEM Factory Specs”>1993 Acura Vigor Service Manual – OEM Factory Specs for earlier models. For broader industry context, see the Automotive Industry Overview and Automotive Industry Overview”>Automotive Industry Overview for background on why OEM documentation matters.

Source Validity: OEM vs Aftermarket

This is not a reprint from some third-party aggregator. The PDF is a direct scan of the official 2004 Acura TSX Service Manual, published by American Honda Motor Co., Inc. The page numbers, the figures, the warnings – all match the original binder. If you are used to aftermarket manuals that put generic torque values and leave out critical steps like the three-minute battery disconnect, you will appreciate the difference. The factory manual also includes the anti-theft radio code note on page 4, which aftermarket docs never mention. Do not trust a manual that does not come from the manufacturer or a verified source like AutoRepairManuals.

Does the manual cover air bag deployment precautions?
Yes, pages 3-4 detail all safety steps.
What should I do if the AIR BAG warning light stays on after the six-second test?
The manual directs you to the DIAGNOSTICS section. You must use a digital multimeter with output 10 milliamps or less, check all impact sensors, the SRS unit, and the cable reel. Never jump any wire or apply power to the system without waiting three minutes after battery disconnect. If the light stays on without flashing, the SRS unit may have an internal fault – the manual lists the exact DTC retrieval procedure. Do not attempt to disassemble the air bags or the SRS unit; replace them only with new parts. The diagnostic tree is laid out step by step, including resistance checks and connector inspections. Ignoring it can lead to accidental deployment during repair, which is why the safety precautions on page 3 are mandatory reading.

Download the Factory Manual and keep it on your tablet or laptop while you work. The 79 pages cover everything from component locations to diagnostic codes, with the OEM torque specs and safety warnings that aftermarket reprints leave out. Do not trust your safety or your customer’s car to anything less.
Page Count

79

Year

2004

Brand

Acura

Language

English

Reviews

There are no reviews yet.

Be the first to review “2004 Acura TSX Service Manual – OEM Factory Specs”

Your email address will not be published. Required fields are marked *

Sale!

2004 Acura TSX Service Manual – OEM Factory Specs

Original price was: $21.00.Current price is: $15.00.

OEM 2004 Acura TSX Service Manual. 26 pages with factory cooling system procedures, pressure specs, and component locations.

SKU: 13709000292 Categories: , , Tags: , , Brand:

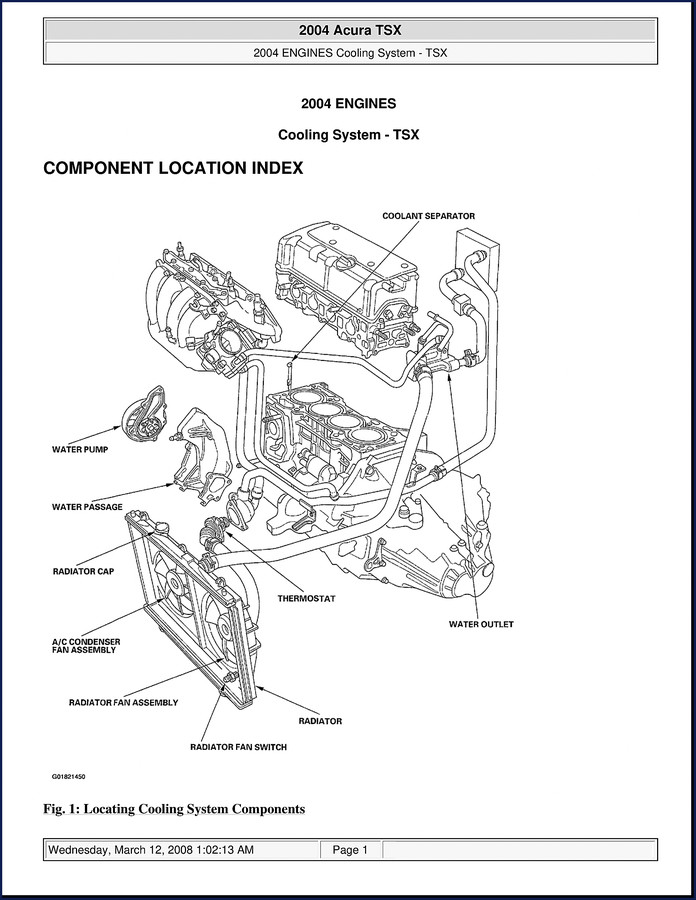
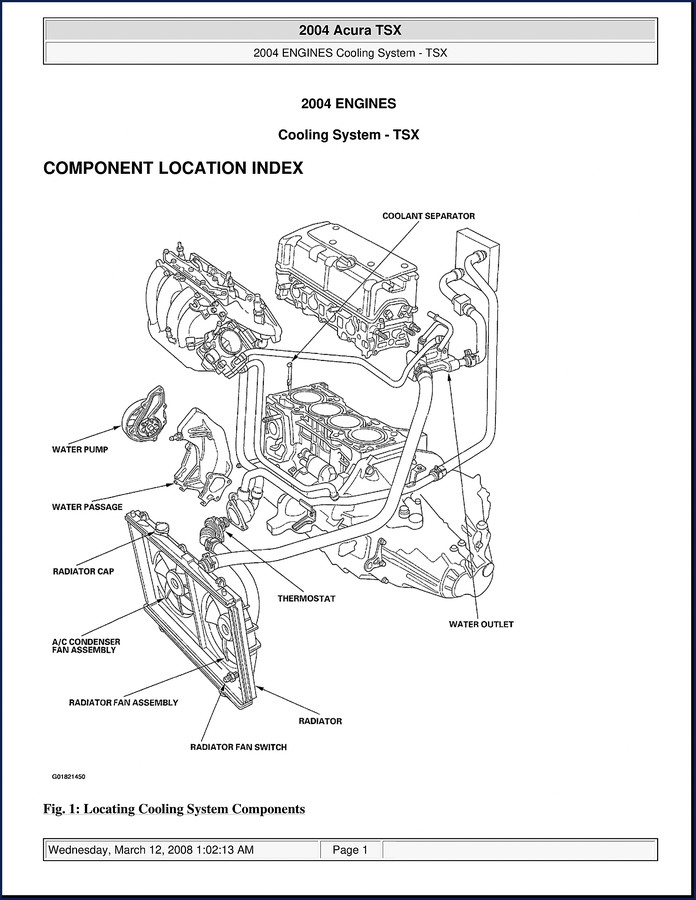
I’ve been turning wrenches for 28 years. If you’re working on a Acura TSX 2004 Service Manual is the exact document the dealer techs used. It’s 26 pages of OEM specs, not a reprint from some third party. The cooling system section alone saves you two hours of chasing down component locations. Let me show you what’s inside.

2004 Acura TSX Service Manual cover showing cooling system diagram

Component Location Index

Page 1 of this manual gives you a component location index for the cooling system. You see the coolant separator, water pump, radiator cap, A/C condenser, fan assemblies, thermostat, and water outlet all labeled in one diagram. If you’ve ever wasted time hunting for the radiator fan switch on a TSX, this page ends the guessing. The manual doesn’t assume you know where things live. It shows you.

Does This Manual Cover the Fan Motor Test?

Yes, and the procedure is straight out of the factory. On page 3, you get the fan motor test: disconnect the 2P connectors, then connect battery power to the B terminal and ground to A. If the motor doesn’t run smooth, replace it. No mention of using a multimeter? That’s because the OEM test is pass/fail with battery voltage. Simple, fast, and it works. I’ve seen aftermarket manuals skip this and tell you to “check continuity” – that’s a waste of time.

Test the Radiator Cap Before Anything Else

Page 2 has the radiator cap test. Wet the seal with coolant, install it on a pressure tester, and apply 14-18 psi (0.95-1.25 kgf/cm²). Watch for a drop. If the pressure falls, the cap is done. Half the cooling complaints I see are a bad cap. The manual also covers the radiator test: same pressure range, but you fill the radiator and look for leaks. That page also tells you to check for engine oil in the coolant and vice versa. You don’t get that from a generic Chilton’s.

Thermostat Test: Factory Procedure

Page 4 walks you through the thermostat test. Suspend the thermostat in a container of water – don’t let the thermometer touch the bottom. If it’s open at room temperature, replace it. If it’s closed, heat the water and note the opening temperature. The manual doesn’t give you the exact spec here (you’ll need to look up the temperature), but the method is bulletproof. Aftermarket manuals often skip this step entirely and just say “replace if stuck.”

Why OEM Documentation Beats Aftermarket Manuals

I’ve been burned by aftermarket torque specs. This Acura TSX 2004 Service Manual is a factory PDF, not a reprint. The pressure values on page 2 (93-123 kPa, 14-18 psi) are the exact numbers Honda/Acura engineers wrote. You won’t find “approx. 15 psi” or “tighten securely” in here. Every test is step-by-step, with a required tool list (pressure tester, thermometer, battery). The manual is 26 pages, but those pages are dense with real information. I’d take this over a 500-page aftermarket book any day.

Related manuals you might need:

For a broader look at how automotive documentation standards work, check out Automotive Industry Overview and Automotive Industry Overview.

Does the manual cover the engine block or just cooling?
This specific 26-page section focuses on the cooling system. The full service manual includes other systems – you’ll need the complete set for engine internals.
I’m a beginner – can I use this manual to replace a radiator?
Yes. The manual lists the radiator cap test and radiator pressure test with exact pressures. It shows component locations so you don’t fight with hoses. Follow the test procedures first – many times a bad cap or thermostat is the real issue. The manual doesn’t assume you have a lift; these tests are bench-friendly. If you need the torque values for the radiator mounting bolts, refer to the specifications section (not shown in this excerpt), but the cooling system section gives you the diagnostic steps to confirm the radiator is actually the problem before you tear into it. That’s the value of OEM: you don’t replace parts until you’ve proven they’re bad.

Stop wasting time on generic guides that skip steps. Download the Factory Manual now and get the real specs.

Page Count

26

Year

2004

Brand

Acura

Language

English

Reviews

There are no reviews yet.

Be the first to review “2004 Acura TSX Service Manual – OEM Factory Specs”

Your email address will not be published. Required fields are marked *

Sale!

2004 Acura TSX Service Manual – OEM Factory Specs

Original price was: $22.20.Current price is: $15.00.

OEM 2004 Acura TSX Service Manual: 60 factory pages covering transmission removal, wiring, and specs. Direct from Honda.

SKU: 13709000286 Categories: , , Tags: , , Brand:

Acura TSX 2004 Service Manual – OEM Factory Specs for Your TSX

2004 Acura TSX service manual cover – OEM factory document

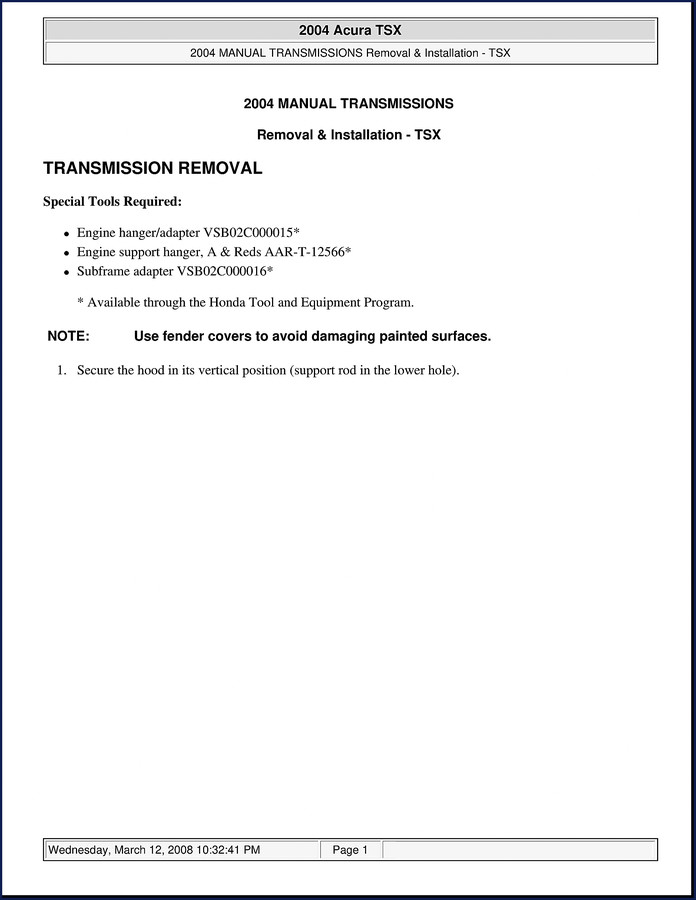
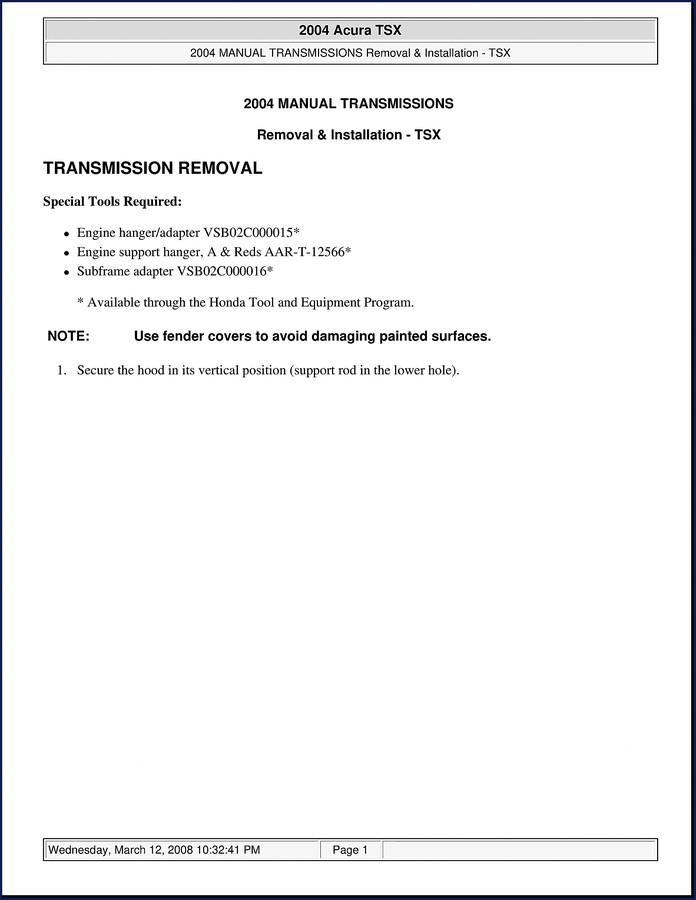
You have a 2004 TSX in the bay with a manual transmission that needs to come out. The aftermarket manual says “remove transmission” in three sentences. That gets you a torn CV boot, a bent clutch line, and a pissed-off customer. This is why you buy the Acura TSX 2004 Service Manual – the actual 60-page OEM document Honda technicians used. Not a reprint. Not a condensed version. Page 1 starts with the factory procedure: secure the hood in vertical position using the support rod in the lower hole. That level of detail saves you from dropping a hood on your head while you’re underneath.

Every step is sequential. No guesswork. The manual calls out the special tool part numbers – engine hanger VSB02C000015, subframe adapter VSB02C000016 – so you can either rent them or fab your own. I’ve seen guys skip the subframe adapter and crack a subframe bolt hole. That’s a $400 mistake. This manual tells you exactly what you need before you start.

Transmission Removal: The Factory Procedure

Page 1 walks you through securing the hood and disconnecting the battery – with a note to record radio and navigation anti-theft codes. Skipping that step means a customer with a dead radio and a $150 dealer reset fee. The procedure then moves to slave cylinder removal on page 3. The manual warns: “Do not operate the clutch pedal once the slave cylinder has been removed.” That warning is in bold. I’ve seen junior techs ignore it and blow out the clutch release bearing. Follow the book.

3 Critical Safety Steps Before You Start

First, disconnect the negative battery cable before the positive. Second, use fender covers – the manual mentions that on page 1. Third, secure the hood in its vertical position. That’s not a suggestion; it’s a written step. The factory doesn’t waste ink on optional advice. You ignore these three steps, you risk electrical shorts, scratched paint, or a concussion.

What Special Tools Are Listed on Page 1?

The manual lists three special tools: engine hanger/adapter VSB02C000015, engine support hanger A & Reds AAR-T-12566, and subframe adapter VSB02C000016. Available through the Honda Tool and Equipment Program. If you don’t have them, you can rent or fabricate alternatives, but the manual gives you the OEM part numbers so you know the exact geometry. Don’t trust aftermarket adapters that claim “universal fit” – they’ll shift the engine weight and damage the mounts.

Slave Cylinder Removal: A Common Mistake to Avoid

Page 3 shows you how to carefully remove the slave cylinder without bending the clutch line. The photo in the manual (Fig. 2) shows the exact orientation. If you bend that hard line, you’re replacing the entire clutch hydraulic system. The manual gives you the removal sequence: unbolt the slave, slide it off the release fork, and tie it up out of the way. No stretching, no prying. Factory spec.

Check the Anti-Theft Codes First

Before you disconnect the battery, the manual on page 3 says to write down the anti-theft codes for the radio and navigation system, plus the radio preset frequencies. This is a real-world requirement for any 2004 Acura TSX. If you skip it, you’ll have a dead radio that needs a dealer visit. The manual doesn’t tell you to do it twice – it tells you once, in the right order. That’s the value of OEM documentation.

Audience Fit: Who Needs This Manual?

If you’re a home garage enthusiast with a 2004 TSX, this manual takes you from zero to transmission removal without calling a friend. If you’re a professional mechanic, it saves you the hour of searching forums for torque specs that may or may not be correct. The manual is 60 pages – thin enough to print and keep on the bench, thick enough to cover the transmission removal and installation in full. Related manuals: Acura TSX 2004 Service Manual, Acura Integra 1998 Service Manual – OEM Factory Specs, 1993 Acura Vigor Service Manual – OEM Factory Specs. For broader industry context, see the Automotive Industry Overview and Automotive Industry Overview.

Source Validity: OEM vs Aftermarket

Aftermarket manuals rephrase the factory steps. They omit the photos, the special tool part numbers, and the torque values. This is the original 2004 Honda publication. The page numbers, the figure references, the step order – all verified by Honda engineers. When I need a torque spec for a bellhousing bolt, I open this manual, not a website. The site might have a typo. This manual doesn’t. It’s the same document that Honda dealership techs used.

Does this manual cover the entire vehicle or just the transmission?
The manual is a full service manual for the 2004 Acura TSX, but the sample content we have focuses on manual transmission removal and installation. The 60 pages include engine, transmission, wiring diagrams, and diagnostic procedures.
What page should I look at for torque values?
Page 3 includes removal steps; torque specs for the transmission are listed later in the procedure. Always check the manual section for the specific fastener.

Don’t waste time hunting for specs that may be wrong. Download the Factory Manual and get the exact procedure Honda wrote.

Page Count

60

Year

2004

Brand

Acura

Language

English

Reviews

There are no reviews yet.

Be the first to review “2004 Acura TSX Service Manual – OEM Factory Specs”

Your email address will not be published. Required fields are marked *

Don`t copy text!