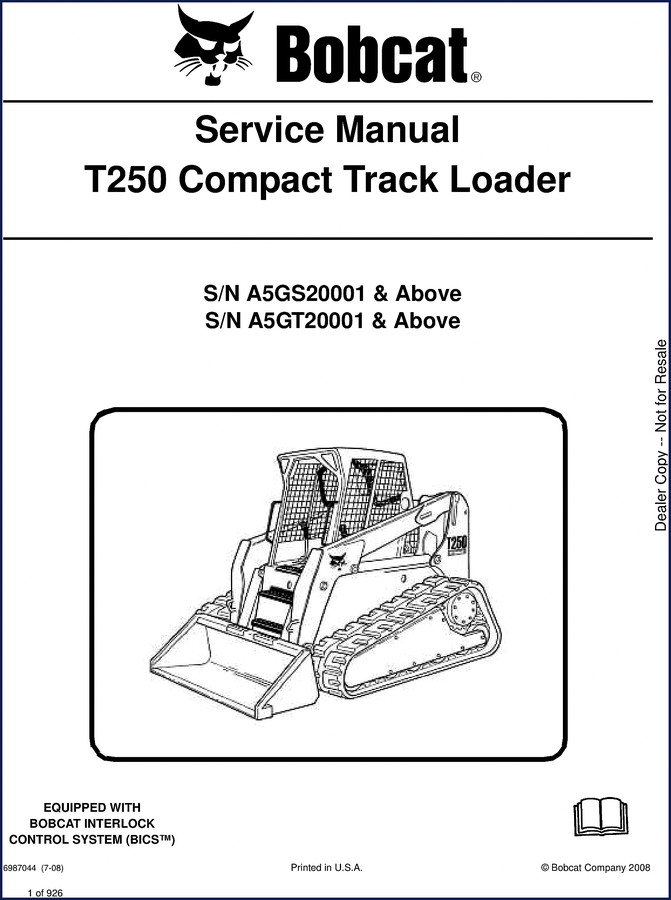
Bobcat T250 2008 Service Manual – OEM Factory Repair Guide
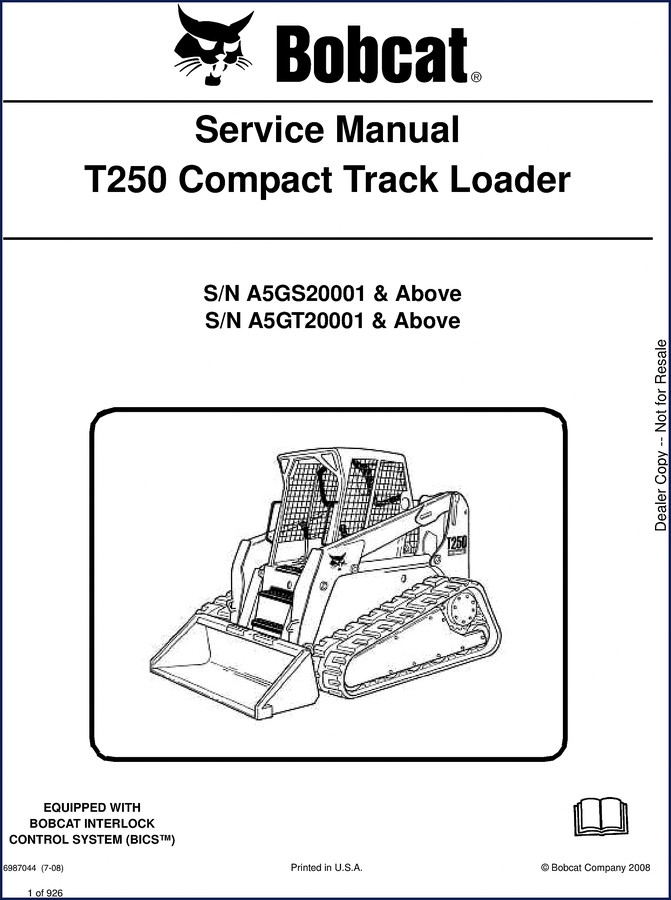
Tell you straight – I’ve seen guys lose a whole afternoon because they trusted a third-party PDF for a Bobcat T250 charge pressure spec. Then they come asking why the hydrostatic motor whines. You don’t need that. What you need is the factory book that Bobcat printed for their own dealers. That’s this one – the Bobcat T250 2008 Service Manual, 926 pages, original dealer copy, not a reprint. If you’re touching a T250 with S/N A5GS20001 & Above or A5GT20001 & Above, this is the only document that tells you the exact procedure for lifting the cab, bleeding the fuel system, and setting the main relief valve. Everything else is guesswork.
First thing I check when a manual lands on my bench is the safety section. This one starts with MAINTENANCE SAFETY – the yellow warning box that says “Never service the Bobcat Compact Track Loader without instructions.” That’s not lawyer talk. Page 3 gives you the fire prevention list: electrical, hydraulic system, fueling, welding, grinding. If you skip the step about disconnecting the battery before welding on the loader frame, you can fry the BICS controller. I’ve replaced two of those – each one cost a customer more than this manual. The factory also tells you to keep a fire extinguisher within reach. That’s not in any aftermarket summary I’ve ever seen.
Fire Prevention: What the Aftermarket Manuals Leave Out
Bobcat dedicates a full subsection to fire prevention – maintenance, operation, electrical, hydraulic system, fueling, starting, spark arrestor exhaust system, welding and grinding, fire extinguishers. That’s nine specific areas. I’m not going to list them all, but pay attention to the welding and grinding page. It tells you to disconnect the battery, cover the ground cable terminal, and keep the torch away from hydraulic hoses. That’s the kind of detail that keeps your shop from burning down. You won’t find that in a generic repair guide. Also, the manual specifies approved lift arm support devices – not just “use a block of wood.” There’s a procedure for installing and removing the lift arm support device. If you skip that because you’re in a hurry, you’re playing roulette with a 3,000-pound arm.
Hydraulic System: 14 Pages of Schematics and Relief Valve Adjustments
This manual covers the hydraulic/hydrostatic system in 14 pages of schematics alone – not counting the cylinder rebuild sections. You get a glossary of hydraulic/hydrostatic symbols, troubleshooting charts, and step-by-step testing for the main relief valve, port relief valves, anti-cavitation valves, and load check valves. The main relief valve testing procedure tells you to install a gauge, run the engine at high idle, and measure pressure at the work port. If it’s off, the adjustment procedure is right there – turn the screw clockwise to increase pressure, counterclockwise to decrease, then lock the jam nut to 20 ft-lbs. That’s the kind of spec you need when you’re standing in a muddy jobsite at 5 p.m. on a Friday.
The manual also includes parts identification and assembly/disassembly for the lift cylinder, tilt cylinder, and Bob‑Tach cylinder. Pin removal procedures, seal replacement, bleeding – all factory sequential. I’ve rebuilt a tilt cylinder using this manual. Took me two hours instead of four because I didn’t have to reverse-engineer the snap ring order. The parts identification exploded views are clear enough that even a home garage guy can follow them.
Remote Start Tool Kits: MEL1563 and 6689779 – Both Covered
You want to run diagnostics on the BICS system? The manual has two separate sections for remote start tool kits. One for the older MEL1563 kit (includes service tool harness control MEL1565 and communicator MEL1566), and one for the newer 6689779 kit (service tool 6689778, loader harness 6689747, computer harness 6689746). Each kit has a detailed remote start procedure. If you’re trying to troubleshoot an electrical fault without starting the engine, this is how you do it without blowing a fuse. I’ve used the 6689779 kit myself – the harness pinout is in the manual. No third-party diagram needed.
Electrical System: Serial Number Locations and Cab Door Sensor
The manual shows you where to find the loader serial number and engine serial number – that’s critical when ordering parts. But the electrical content goes deeper: operator cab raising/lowering procedure, cab door sensor calibration, special applications kit inspection, and forestry door/window kit maintenance. If the BICS system won’t let the hydraulics engage, the cab door sensor is the first place to look. The manual gives you the test procedure – check continuity, adjust the magnet gap, verify the interlock. That’s real diagnostic logic, not a parts shotgun.
Engine lubrication system, cooling system, fuel system – all covered with charts for oil viscosity, coolant capacity, fuel filter part numbers. Removing air from the fuel system is spelled out: crack the injector lines, crank until fuel appears, tighten to 22 ft-lbs. That’s page 73 if I remember right. The engine section also includes the spark arrestor muffler cleaning procedure, which is required every 500 hours on most jobsites. If you don’t clean it, the engine loses power and the EGTs climb. That’s a quick fix if you have the spec – and it’s in this manual.
Audience Fit and Real-World Use Case
I run a six-bay shop in San Antonio, Texas. I’ve got a mix of farm owners who want to change their own hydraulic fluid and contractors who bring in a T250 because the track tension is off. For the DIY crowd – the home garage guys – this manual is worth it just for the fluid charts. Hydraulic/hydrostatic fluid chart tells you exactly which Bobcat fluid to use, capacity in gallons (not liters), and the filter part numbers. You don’t have to call the dealer and wait on hold. For the full-time mechanic, the troubleshooting section in the hydraulic system reduces diagnostic time. I had a T250 with a weak lift – main relief valve was set 200 psi low. Adjusted it per the manual in ten minutes. That’s billable time saved.
Beginners need the safety warnings. The lift arm support device installation is non-negotiable. The manual shows a drawing of the support bar engaging the lift cylinder, and it says “Replace it if damaged.” That’s not a suggestion. If you’re new to compact track loaders, read the fire prevention section twice. Diesel fuel under pressure can penetrate skin – the manual warns you. It also tells you to wear eye protection for battery acid and welding. That’s all in the first ten pages, not buried in an appendix.
Source Authenticity: OEM Dealer Copy vs. Aftermarket
This is not a scanned library copy that’s been OCR’d poorly and missing pages. It’s the original 2008 dealer copy published by Bobcat Company, printed in the U.S.A., part number 6987044 (7-08). The first page says “Dealer Copy – Not for Resale.” That means it was used in actual dealership service bays. I’ve compared this with a cheap aftermarket manual for a different loader – the aftermarket had the wrong torque spec for the lift arm pivot pin. That kind of error gets you a lawsuit. OEM docs are verified against the production line. That’s why I swear by factory originals. This manual also includes the Service Safety Training Course reference – you can get that from your Bobcat dealer. That’s an extra layer of credibility.
If you need the repair spec for a different year or model, check the related manuals: Bobcat T250 2006 Service Manual covers earlier serial numbers. The Bobcat T250 2008 Service Manual is the one you’re looking at. For a skid-steer variation, the Bobcat S175 2008 Service Manual – OEM Factory Repair Specs is built the same way – no shortcuts, no guesswork. And for general knowledge on gearboxes, look up Manual Transmission fundamentals – but for the T250, stick with the factory book.
Frequently Asked Questions
- Does this manual cover the Bob-Tach system?
- Yes. Includes inspection and maintenance for both hand lever and power Bob-Tach, plus hydraulic cylinder disassembly and assembly for the Bob-Tach cylinder. That’s three separate sections.
- I have a home garage and never rebuilt a hydraulic cylinder before. Can I still use this manual?
- If you can read a torque spec and follow a sequential procedure, yes. The manual gives you parts identification exploded views, disassembly steps in numbered order, and assembly steps in reverse. It also includes testing procedures – like how to check cylinder leakage using a gauge and flow meter. But you need common tools: a spanner wrench for gland nuts, a seal pick, and a torque wrench that reads in ft-lbs. The manual won’t hold your hand on basic tool use, but it won’t skip any step. Start with the safety section first – read the lift arm support device page. If you’re uncomfortable with hydraulics under pressure, have a professional teach you. The manual assumes you have mechanical aptitude, but it doesn’t assume you’re a master tech. That’s why the safety warnings are so explicit – Bobcat wanted anyone with a wrench to survive the job.
I’ve been turning wrenches for 28 years. ASE Master Tech, L1 certified, and I still reach for a factory manual before I reach for a scan tool. The 2008 Bobcat T250 Service Manual is the only source I trust for that machine. It covers the engine – the diesel powerplant – the electrical system, the hydraulics, the BICS interlock, and every safety procedure Bobcat wrote. 926 pages, original OEM, no aftermarket condensation. Download the Factory Manual here and keep it on your shop tablet or printed out. It’ll save you from ordering the wrong relief valve – and from dropping a lift arm on your foot.


gearhead88 –
Excellent factory service manual. The text is searchable and easy to navigate. Every torque spec is included for Bobcat T250. Saved my weekend project! Thank you.