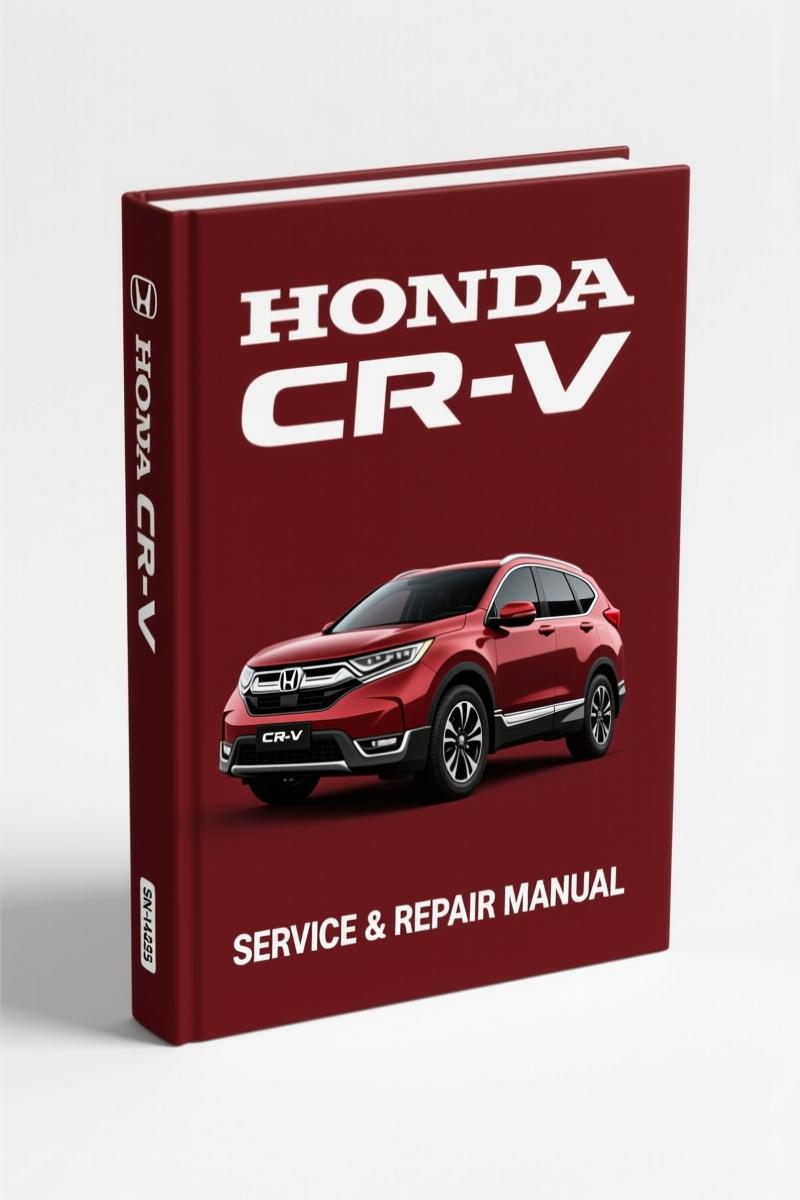
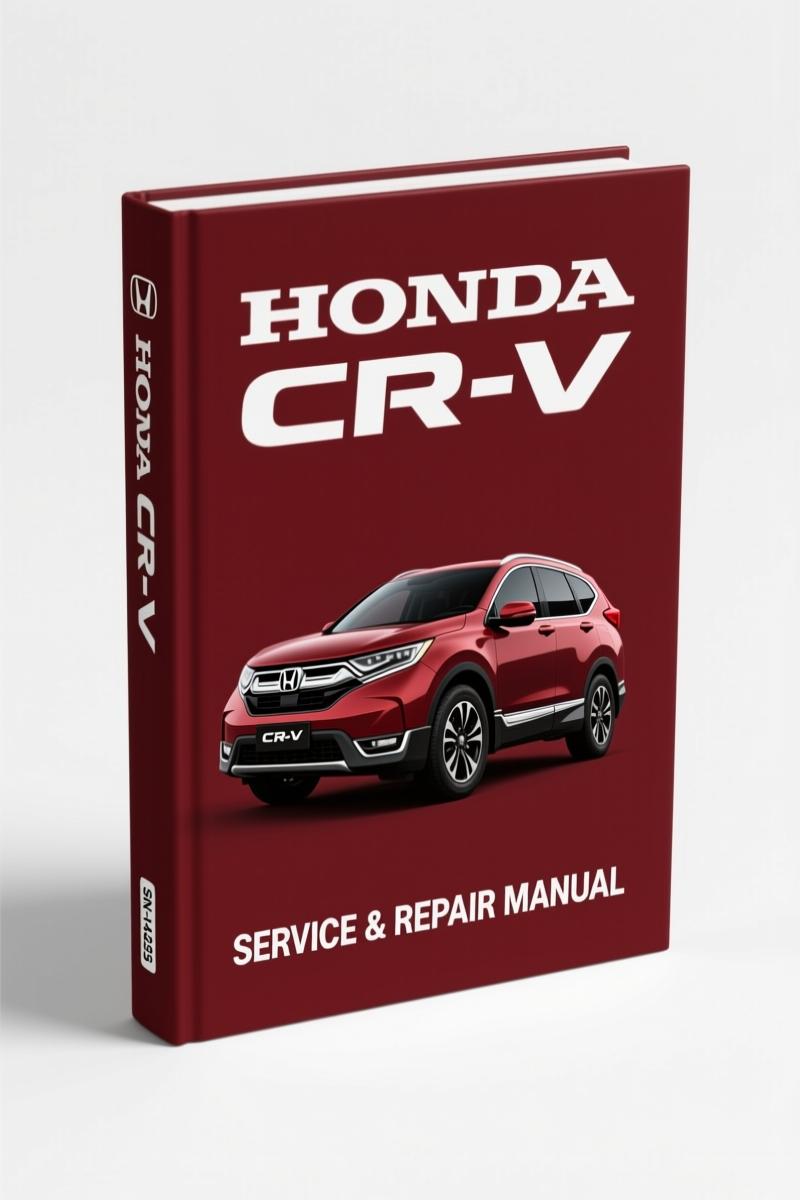
I’ve been turning wrenches since before some of you were born, and I’ve seen what happens when a guy trusts a generic repair guide. He ends up with a stripped thread, a misaligned timing belt, or a head gasket that leaks because he used the wrong torque sequence. That’s why I’m telling you about the Honda CR-V, Odyssey 2002 Repair Manual from AutoRepairManuals. This is not some aftermarket booklet. It’s a direct reproduction of the factory shop manual used by dealers. 310 pages covering both the CR-V and Odyssey from 1995 through 2002 model years. Page 2 confirms it: ‘HONDA CR-V, ODYSSEY – Бензиновые модели выпуска с 1995г.’ That’s the real deal.
Engine Overhaul: Section 3 – What You Get
This section takes you through removing the cylinder head, checking valve clearances, and re-installing everything to factory spec. You get the tightening sequence and torque values for each bolt – not some generic range. If you’re rebuilding a CR-V’s B20 or an Odyssey’s F23, you follow this manual. Period. The steps are laid out in order, with photos showing exactly where to put the pry bar and which fastener goes where. I’ve used worse aftermarket diagrams that left me guessing; this one doesn’t.
Torque Specifications: Where They Are
Every critical fastener in the manual has a torque value printed alongside the repair procedure. The engine mechanical chapter (Section 3) lists the cylinder head bolt torque in foot-pounds, plus the sequence. The suspension and steering section (Section 8) gives you the control arm and tie rod end torques. Wheel lug nuts are also noted – 80 ft-lbs for most Honda steel wheels. Don’t trust a third-party chart. Use the factory numbers from this manual. If you need a separate manual for earlier model years, check out the Honda CR-V Service Manual which covers 1995-2000.
Does This Manual Cover the Fuel System?
Yes, Section 5 is dedicated to the fuel system – fuel pump, injectors, throttle body, and the fuel pressure regulator. It includes removal, inspection, and installation procedures. There’s a warning about depressurizing the system before service. That’s the kind of detail that keeps your shop safe and your parts intact. The manual also cross-references electrical connectors and vacuum hoses for the emissions system (Section 4). For drivetrain specifics, you can look at the Manual Transmission article for background, but this manual gives you the actual Honda specs.
7 Systems Covered – From Electrical to Brakes
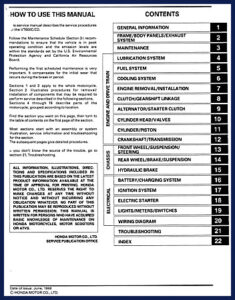
The manual breaks down into 11 sections, each covering a major system. Starting with general maintenance (Section 1), then engine electrical (Section 2), engine mechanical (Section 3), engine management and emissions (Section 4), fuel system (Section 5), vehicle electrical (Section 6), drivetrain (Section 7), suspension and steering (Section 8), brakes (Section 9), body (Section 10), and diagnostics (Section 11). That’s every system you’re likely to touch on these Honda models. For airbag-related repairs, the Honda CR-V 1997-2000 Service Manual – Section: Restraints gives you the factory safety protocols. And for technical service bulletins, refer to the Honda CR-V 1997-2000 Service Manual – Section: Special Information.
Diagnostics Section 11: Factory Troubleshooting
When the check engine light comes on, you don’t want to guess codes. Section 11 gives you the diagnostic procedures Honda intended – including code definitions, sensor testing, and circuit checks. It covers both the CR-V and Odyssey, and it includes wiring diagrams in the back. I’ve seen shops waste hours because they used a generic scanner and misread a code. This manual tells you which pin to probe and what voltage to expect. You can pair this with the Automotive Industry Overview for broader context, but the step-by-step here is what you need on the lift.
Who Should Buy This Manual
If you own a 1995-2002 CR-V or Odyssey and you plan to do your own repairs – or if you run a shop that sees these vans regularly – this manual belongs on your bench. It’s thick (310 pages), it’s in Russian (but the diagrams and torque charts are universal), and it’s the real factory data. Don’t let the language scare you; torque values are numbers, and procedures are mostly pictures. Beginners will appreciate the “How to Avoid Damage” section in the general chapter. Professionals will use it to confirm specs and avoid comebacks.
Why OEM Documentation Matters
I’ve been burned by aftermarket manuals that copied the wrong bolt torque or left out the tightening sequence. This manual is based on the official Honda factory repair manual. The publisher (Lada, 2002) states it’s compiled from the factory instructions. That means the cylinder head torque for a CR-V is the same as what a dealer tech would use. You don’t get that from a third-party publisher who never torqued a bolt in their life. Trust factory data.
You don’t need guesswork.
Download the Factory Manual now and stop chasing your tail. Whether you’re doing a timing belt on a CR-V or a brake job on an Odyssey, this manual gives you the specs you can bet your toolbox on.
Frequently Asked Questions
- Does this manual cover the 2002 models?
- Yes, the manual includes 2002 models as shown on page 2.
- What torque specs are included in the manual?
- The manual lists torque values for all major engine, transmission, and chassis fasteners, including cylinder head bolts, main bearing caps, and wheel lug nuts. Each spec is derived from Honda factory data, so you can trust it for critical assemblies like the crankshaft pulley or suspension components. Always use a calibrated torque wrench and follow the tightening sequence printed in the section for that component. Skipping this step leads to leaks, warped parts, or broken bolts.

David M. –
Great buy! The PDF is very clear. Every torque spec is provided for Honda CR. Saves me hundreds of dollars.
gearhead88 –
Five stars! Instant access after payment. A must-have for any Honda CR owner doing repairs. Saved my repair job! Thanks.