Honda S2000 Service Manual – Factory Specs, No Guessing
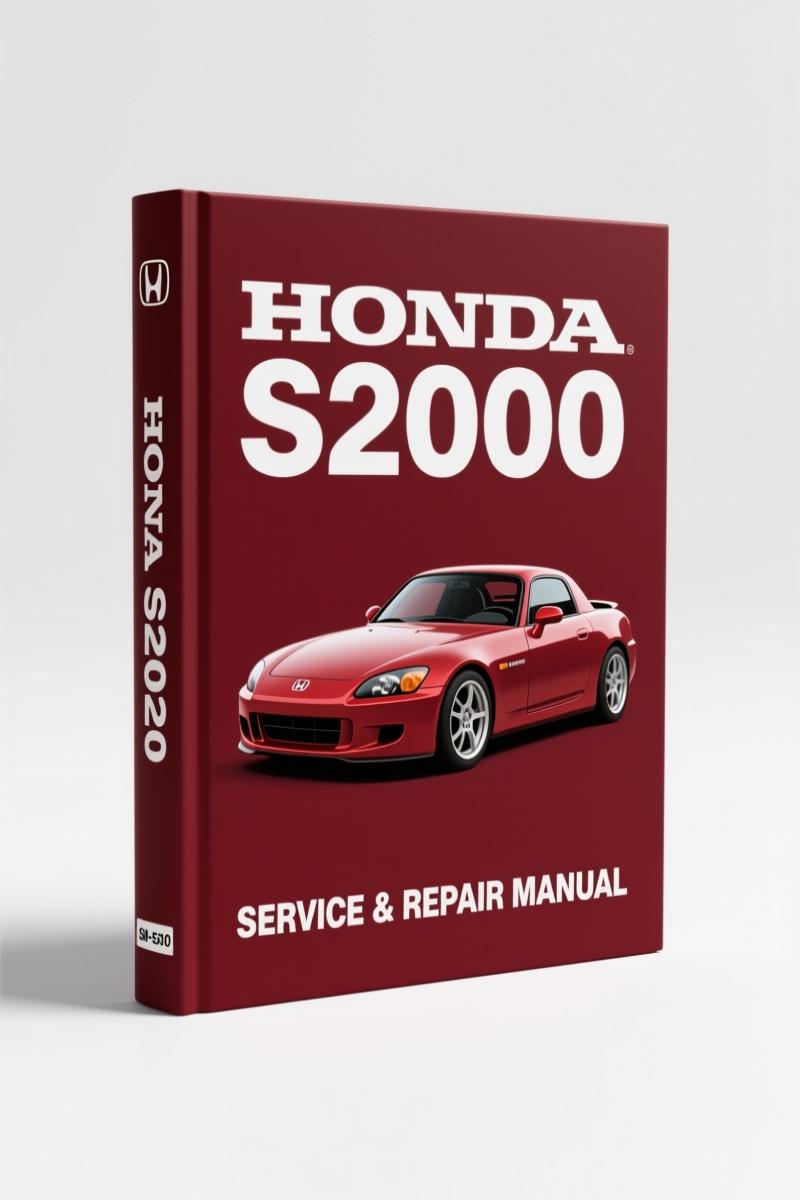
I don’t care how many YouTube videos you’ve watched. When you’re holding a wrench on an S2000, aftermarket manuals get you halfway and leave you hunting for the last bolt. This Honda S2000 Service Manual is the one the dealer techs use – 1088 pages of the actual factory procedures, torque specs, and wiring that Honda released to their own shops. If you skip the OEM book, you’re betting your time and parts on someone else’s summary.
DTC Troubleshooting Indexes: Why You Start Here
Every check engine light or ABS warning starts with a code. This manual dedicates entire indexes to DTC troubleshooting for systems like ABS/TCS, EPS, Fuel and Emissions, and SRS. Instead of flipping through generic code lists, you get Honda’s actual diagnostic trees. Need the ABS modulator-control unit removal? Page 22-6 in the ABS/TCS components section walks you through the bleed sequence and torque specs for the hydraulic lines. No translation errors, just the factory step order.
ABS/TCS Components: Factory Valve and Wiring Data
Honda’s anti-lock brake system on the S2000 uses a modulator-control unit that integrates the pump and valves. The manual provides full circuit diagrams, component location indexes, and test procedures for the ABS indicator circuit. If you’re chasing an intermittent ABS light, the manual lists the resistance checks at the control unit connector – not something you’ll find in a generic reprint. Fuel system diagnostics are equally thorough: the manual covers the air pump electrical current sensor, alternator FR signal, and the blower power transistor test. You get the actual page numbers for each procedure, not a vague reference.
Does This Manual Cover the Fuel System?
Yes, and it’s not just a diagram of the pump. The Fuel and Emissions section in the DTC Troubleshooting Index includes the catalytic converter system, fuel pressure test points, and the evaporative emissions circuit. The manual also has a full Specifications section with fluid capacities and torque values for the fuel rail bolts. If you’re replacing the fuel injectors, the manual tells you the exact torque for the retaining bolts and the O-ring part numbers. No need to guess or cross-reference a third-party site.
7 Sections of Wiring and Connector Data
Wiring is where most DIY jobs go sideways. This manual has separate indexes for connector locations, grounds, in-line connectors, and fuse/relay boxes (under-dash, under-hood main, auxiliary). The Power Distribution section maps every fuse to its circuit. If you’re troubleshooting a no-start, the manual lists the charge voltage test at the alternator and the starter signal circuit path. The SRS system wiring includes the cable reel replacement procedure and driver’s airbag removal – with the required battery disconnect time. You don’t want to assume polarity on an airbag circuit.
SRS: You Don’t Touch Airbags Without the Right Procedure
The SRS section includes the “How to Use This Manual” safety messages, but also the actual component location index for the passenger airbag and seat belt pre-tensioners. The manual repeats the warning at the start of every SRS-related procedure: disconnect the battery and wait 3 minutes. That’s not a suggestion – it’s the factory safety directive. The convertible top also gets full coverage, including the control unit input test and the top cloth replacement. You’ll find the torque for the top striker bolts in the body section.
Source Validity: OEM vs. Aftermarket
Aftermarket publishers like Haynes and Chilton rewrite the manual from a single car tear-down and then apply it to multiple years. That’s why their torque values are sometimes off by 10 ft-lbs. This manual is the exact PDF Honda printed for their technicians in 2002. The “First Edition 09/2002” stamp is on page 3. The specs apply to U.S.A. and Canada models. For a broader perspective on industry repair standards, you can check the Automotive Industry Overview from Toyota’s owner resources. But for Honda-specific work, this is the only document you should trust. The OEM document is the same one that dealership service advisors use when writing up a repair – they don’t guess.
FAQ
- Does this manual include the convertible top repair procedures?
- Yes – full convertible top component location index, circuit diagram, control unit input test, and top cloth replacement steps.
- Why should I buy this factory manual over an aftermarket Chilton?
- Aftermarket manuals summarize and often omit critical steps like the ABS modulator bleed sequence or the SRS battery wait time. This Honda S2000 Service Manual is the original document – 1088 pages of factory procedures, torque specs, wiring schematics, and DTC troubleshooting indexes. Honda’s own engineers wrote it. When you’re replacing convertible top motors or diagnosing a fuel pressure issue, the aftermarket book might skip the air pump electrical current sensor test entirely. The factory manual includes it, with the exact resistance values. Plus, the wiring diagrams are color-coded and show splices. That matters when you’re trying to trace a short in the under-dash fuse box. I’ve seen techs waste two hours chasing a bad ground that the factory manual listed on page 22-19. The OEM manual pays for itself on the first job where you don’t have to guess a torque spec or a wire color.
If you’re serious about keeping that F20C purring, download the factory manual. Don’t waste time on reprints that miss the details Honda considered important enough to print. Honda S2000 2002 Service Manual – Factory OEM Repair Guide, Honda VT600C 1998 Service Manual – Factory OEM Repair Guide, and Honda VFR800/A 2002 Service Manual – OEM Factory Repair Guide are also available on AutoRepairManuals. For further reading on vehicle service documentation standards, see Automotive Industry Overview.

Charles W. –
Great OEM spec sheet. The scan is high-quality and well indexed. Contains clear wiring diagrams for Honda. I will recommend this shop to others.