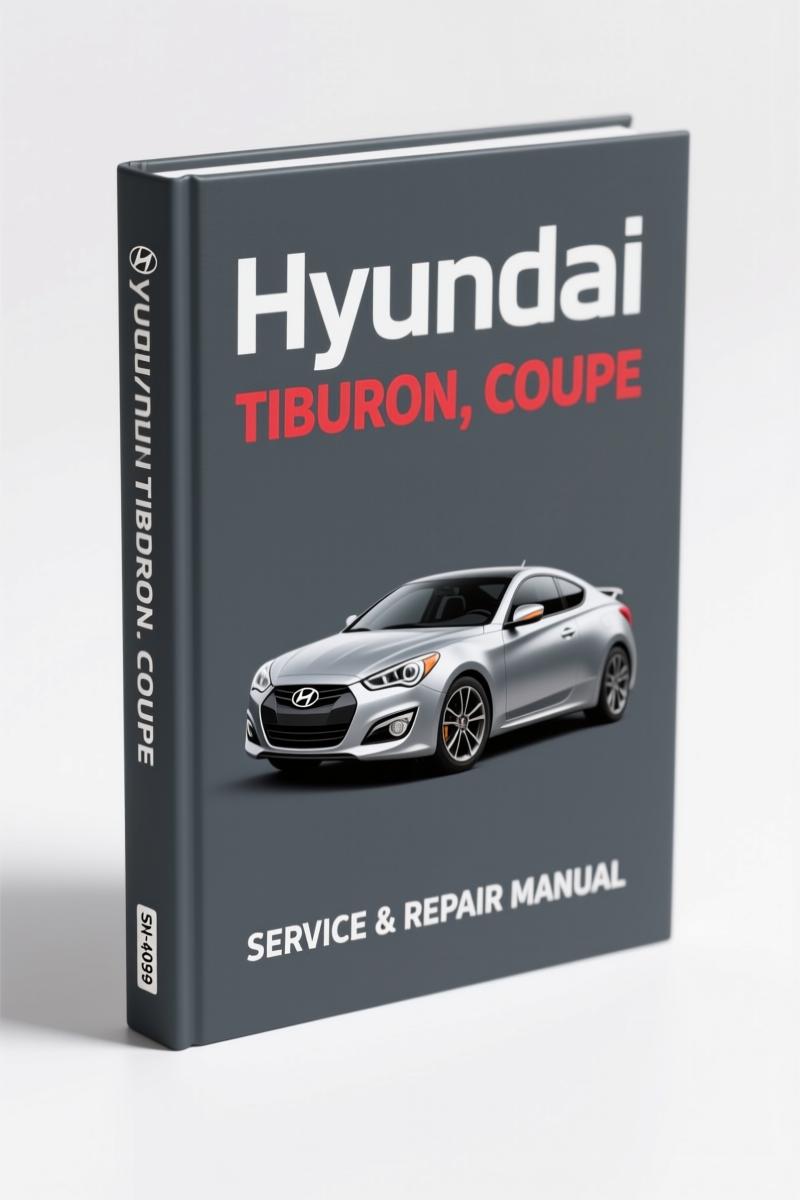
Hyundai TIBURON, COUPE Workshop Manual – 131 Pages of Factory Panel Repair
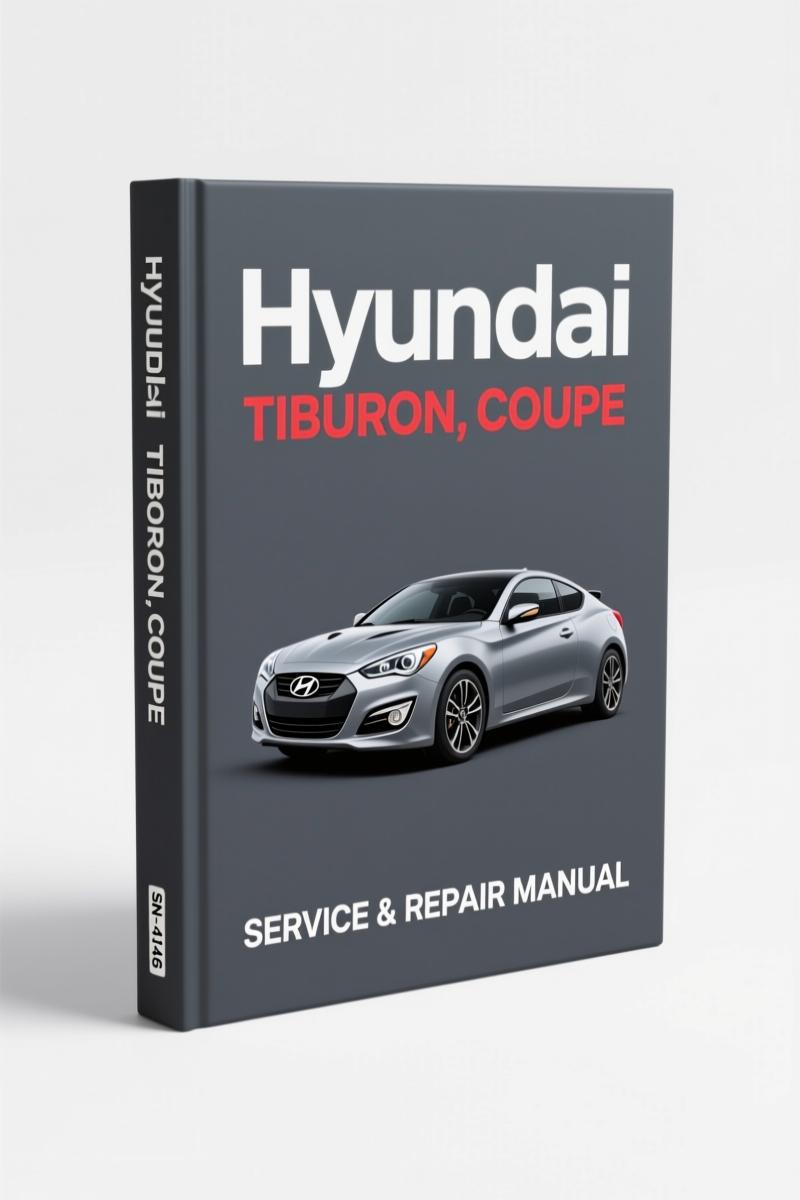
If you are pulling a wrecked Hyundai TIBURON, COUPE into your shop, the first thing you need – before you even look at a unibody frame machine – is the factory procedure for returning that structure to pre-impact geometry. I have seen too many guys skip the dimension check and end up with a car that pulls to the right or, worse, fails in the next crash. This Workshop Manual runs 131 pages of OEM body construction, replacement parts, and repair steps written by the people who built the car. That is the only information I trust when sectioning a side sill or replacing a front sidemember.
Body Panel Repair Procedure: Radiator Support to Quarter Panel
Chapter five in this manual walks you through eleven separate panel replacement procedures, starting with the radiator support panel and ending with the door assembly. Each one includes the required cutting zones, weld specifications, and seam locations. For the side sill partial replacement, page 73 shows you exactly where to section and how much overlap to leave. The manual also calls out which panels are high-strength steel – you do not want to use the wrong welding settings on those. I keep a copy clipped to the board next to my MIG welder.
What Corrosion Protection Methods Are Specified?
Hyundai engineers spent real money on corrosion prevention. The manual devotes a full chapter (page 97 onward) to zinc-galvanized steel panels, zinc-phosphate coat, cationic electrodeposition primer, cavity wax injection, and underbody anti-corrosion agent. If you are repairing a TIBURON that lived in a salt-belt state, you have to reinstate those treatments. The manual gives the exact locations for antivibration pads and the recommended thickness for underbody coat. Skipping this step means the repair will rot out in two winters. That is on you.
3 Dimensions You Must Verify Before Welding
The body dimensions chapter (starting on page 48) lists critical measurements for the upper body, side body, interior, under body, engine compartment, and luggage compartment. Before you weld anything, you check: 1) The width across the front pillar at the hinge mounting points. 2) The diagonal length of the side sill opening. 3) The distance from the rear sidemember end to the rear floor center. These numbers come straight from the factory jig. If they are off more than 2 mm, your door gaps will look terrible and the structure will not absorb energy correctly.
General Information: SRS Airbag and Electronic Parts
Page three carries the safety warnings about the SRS airbag system. The manual tells you to disconnect the battery and wait three minutes before any welding or cutting near the airbag sensors. It also covers electronic parts handling – static precautions, connector care, and corrosion protection for those modules. This is not the kind of thing you want to guess at. One accidental deployment or a chafed wire can cost you a lawsuit. Read that page before you touch the front body panel.
Use Factory Torque Specs for Structural Bolts
Aftermarket manuals list generic torque values that may or may not match a Hyundai unibody. This factory manual gives the specific torque for each bolt in the body structure: the front sidemember bolts, the seat belt anchor bolts, the door hinge bolts. Over-tighten one of those and you strip the welded nut; under-tighten and the bolt works loose. You do not get that from a Chilton. You get it from Hyundai Tiburon Coupe 2001 Body Repair Manual or from this workshop manual. Both are OEM.
For technicians working on the brake or stability control systems, the factory ABS/TCS/ESP training guide covers the Bosch 5.3 unit – see Hyundai ABS/TCS/ESP Training Guide – Section: Bosch 5.3 (With Ebd). That is a separate document, but it pairs well with this body manual when you are dealing with a vehicle that also needs electrical diag after collision damage.
Source Validity: OEM Print, Not a Reprint of a Third-Party Scan
This file is a direct scan of the original Hyundai factory documentation. There are no watermarks from a third-party reseller, no missing pages, no hand-drawn arrows. The page numbering matches the OEM binder. I have seen counterfeit copies that crop out the corrosion protection diagrams to save file size – then a guy cuts a hole in a floor pan and has no idea where to apply the underbody coat. This manual keeps every diagram intact. If you want the real thing, this is it. Compare that to aftermarket CD-ROMs that claim to cover the same models but leave out the body dimension tables.
For a broader view of how automakers structure their owner resources, check Automotive Industry Overview. And if you are looking for the same laser-focused OEM data for your own shop, Automotive Industry Overview might give you leads.
I still reference this manual whenever a TIBURON or COUPE rolls in. The section on rear sidemember partial replacement (page 90) saved me from having to replace the entire floor section last month. If you plan to keep these cars on the road – either for customers or for your own project – you need this on your tablet or printed out. Download the Factory Manual from AutoRepairManuals and put it next to your torch.
- Does this manual cover the fuel system and engine removal?
- No. This manual covers only body construction, replacement parts, dimensions, panel repair procedures, sealing, and corrosion protection. For powertrain, transmission, or electrical diagnosis, you need the separate powertrain workshop manual for the TIBURON/COUPE.
- Is this manual the same as the one Hyundai dealerships use?
- Yes. This is a factory-produced PDF (131 pages, English, same part number as the paper version) issued to dealership service departments for collision repair. It includes the official OEM welding specifications, dimension charts, and corrosion treatments. No aftermarket abbreviations, no generic torque values.
Reviews
There are no reviews yet.