Manitou 150 AET2 2002 Repair Manual – The One With the Factory Stamp
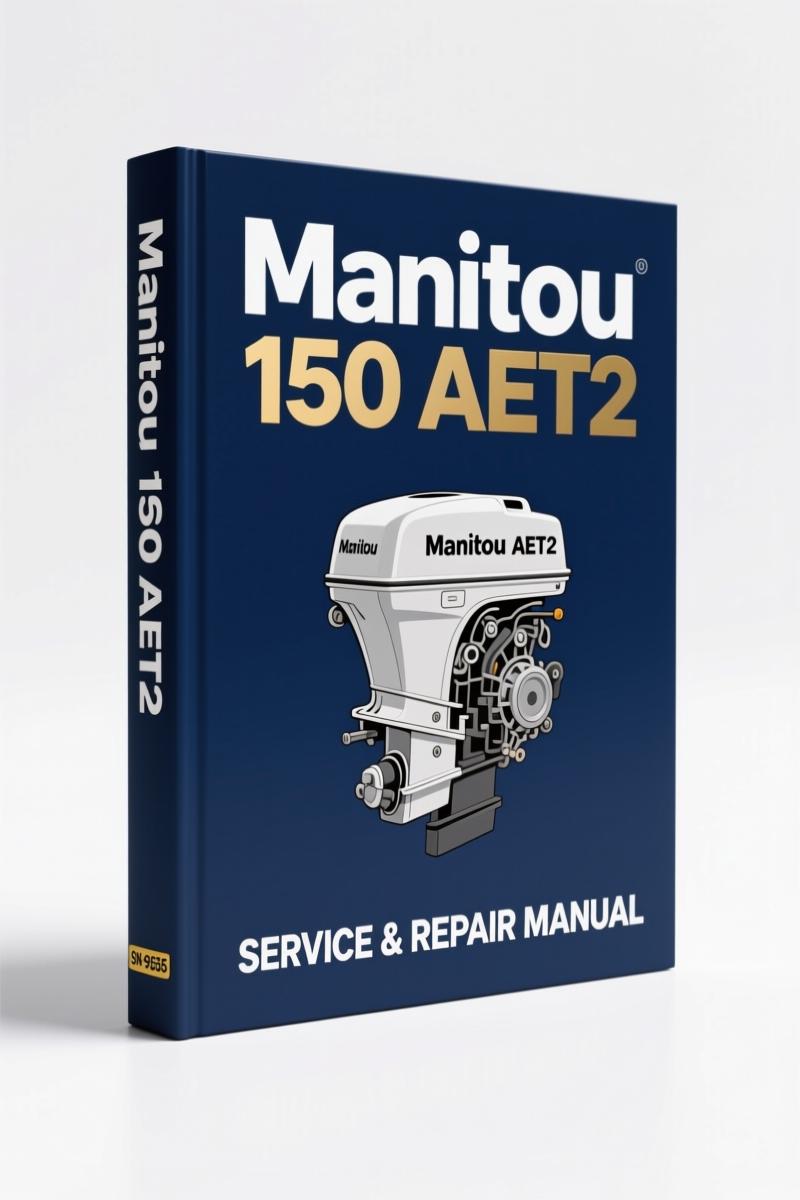
You need the correct torque for the wheel brakes on a Manitou 150 AET2 2002 Repair Manual subject machine. Guess wrong, and you’re looking at a brake failure or a stripped hub. That’s why you reach for the factory binder – not a scanned-from-a-photocopy aftermarket knockoff. This is the actual 306-page repair manual Manitou issued in 2002 for the 150 AET2 access platform. It covers every system from the axle to the electrical panel. No guesswork, no “close enough.”
The table of contents isn’t a marketing page – it’s a workbench roadmap. Groups 0, 30, 55, 70, and 80. Sections like “Technical characteristics,” “Free-wheeling,” “Removing the hydraulic hoses, pads and the telescope,” and “Location of the electrical components.” Each section references a specific .M.71 EN document number, so you know exactly which page to flip to when the platform won’t raise or the rotation motor binds. Page references are internal – you follow the group number, not a guess.
Hydraulics: Factory Pressure Specs and Component Removal
Group 70 is where you spend your time if you’re chasing leaks or replacing cylinders. The manual breaks down “Hydraulic pressure” as a separate section with its own data. You get the layout, the location of components, and the removal sequence for rotation motors, the electric pump, the reducers/wheel brakes, distributor elements, and all cylinders. This isn’t a generic “remove bolts” instruction – it tells you which tool to use and the sequence so you don’t snap a line. For the distributor removal, the manual says to follow the order on page 70-2-44-M.71. That kind of precision keeps you from ordering parts twice.
Want to verify the charge pressure? The manual lists it under “Hydraulic pressure” in the group. No aftermarket interpolation – just the factory number. Compare that to a third-party PDF that says “approximately 200 bar” and you’ll appreciate why OEM matters. If you’re working on the 150 AET2 and need the full hydraulic chapter updated in 2005, check MANITOU 150 AET2 2005 Repairs Manual – Section: Hydraulics (80-7-M.71) for the later revision that includes added sections like 80-7-M.71.
Electrical System: Location of Components and Wiring Logic
Electricity on an access platform is not forgiving. One crossed wire and the platform drifts or the emergency stop fails. The manual dedicates a full section to “Electricity” with a subsection “Location of the electrical components.” That’s where you find the OEM routing, the connector pinouts, and the fuse block layout. No vague “connect to the harness” – you get the factory schematic. For the 150 AET2, the electrical group is 80, with document 80-7-M.71 covering the entire system. If you’ve ever traced a short using a generic diagram, you know the value of this.
When you’re dealing with the free-wheeling valve or the parallel adjustment, you’re in Group 55 and Group 30 respectively. The manual covers “Adjusting the parallelism” and “Free-wheeling” as specific procedures. These are the kind of adjustments you get wrong by 10 mm and the platform wobbles. The manual gives you the method, the tool list, and the acceptable clearance. It’s all in there.
Axle and Transmission: Setting the Parallelism and Free-Wheeling
Group 30 covers the axle. Group 55 covers the free-wheeling. If you’re replacing brake components or wheel reducers, you need the manual’s removal sequence for “Removing the reducers / wheel brakes” under Group 70. This is where torque specs live – but they’re listed in the specific sub-documents. For example, the wheel brake torque is referenced in the 70-2-57-M.71 document. Don’t have that number? You’re guessing. The manual gives you the number.
The section “General Points” at the beginning of the manual (Group 0) sets the safety rules. Manitou expects you to read it before touching anything. It covers lift points, fluid types, and the mandatory tool list. Ignoring that section costs time or body parts. I’ve seen too many guys skip the “General Points” and then wonder why the cylinder won’t seat.
Source Validity: Original Factory Print vs. Aftermarket Copies
This is a direct scan of the original 2002 edition from Manitou’s own printing. The revision history on page 3 shows the first edition dated 06/2002 and updates through 03/2005. You get the exact same content a dealer technician would have pulled off the shelf – including the “www.maskinlisten.net” watermark that identifies the source. Aftermarket manuals often omit the revision updates and combine multiple models into one sloppy document. Here, the model is specifically “150 AET2” and nothing else. The MANITOU 150 AET2 2004 Instruction Manual covers operator use, but for repairs you need this manual. If you want the engine-specific specs, see K-D Manitou D 2876 LUE 2003 Repair Manual – OEM Factory Specs for the power unit data.
Factory documentation means the torque values come from the engineering department, not a third-party writer guessing from a photo. The manual uses metric fasteners, but all critical torque values are given in Nm and can be converted to ft-lb using the standard conversion. I trust factory data. Manual Transmission components – like the free-wheeling unit – require specific oil grades listed in the manual. Manual Transmission fluid specs are in the “Technical characteristics” section.
Who Is This For and What Does It Actually Help With?
This manual is for the mechanic who has a 150 AET2 in the bay and needs to do a hydraulic pump replacement, a cylinder rebuild, or an electrical fault trace. It’s not a beginner’s guide to “how a platform works.” It assumes you know how to use a multimeter and a torque wrench. The real-world use case: you’ve got a platform that drifts down when parked. You go to “Hydraulic layout” then “Removing the cylinders” and find the test port locations. The manual tells you which line to pressure-test and what the acceptable drop rate is. No guesswork.
If you’re a DIY equipment owner with a Manitou 150 AET2 and you’re comfortable with schematics, this manual pays for itself the first time you avoid a trip to the dealer for a hose replacement. But if you’ve never removed a hydraulic component before, get the instruction manual first.
FAQ – Four Questions You’ll Ask
- Does this manual cover only the 150 AET2 from 2002?
- Yes. The manual title says 150 AET2 and the publication date is first edition 06/2002. It does not cover later model years or other models.
- What torque specifications are included and how are they presented?
- Torque values are listed in each sub-document for the specific component removal or installation. For example, the wheel brake fasteners are in document 70-2-57-M.71, and the axle-related fasteners in group 30-8-51-M.71 and 30-8-52-M.71. The manual gives the torque in Nm with the specified tightening sequence. No conversion table is printed – you use a standard converter. The values are factory-original, not aftermarket approximations. If you need the data for the rotation motor, you’ll find it in group 70-2-44-M.71 or 70-2-45-M.71. The manual expects you to look up the exact document number for the fastener you’re working on. This reduces error.
- Is this manual in English?
- Yes, the document suffix “EN” indicates the English version. The original French version exists, but this scan is in English.
- Can I use this manual for a 2005 model 150 AET2?
- Use with caution. The manual received updates in 03/2005 that added new chapters (e.g., 30-8-51-M.71, 55-2-20-M.71, 70-7-M.71). If your machine was built after the 2005 update, the manual might not include the latest revisions for those added sections. However, the core procedures for the axle, hydraulics, and electricity remain largely unchanged. The most reliable approach is to cross-reference the document numbers on your machine’s serial plate with the list on page 3 of the manual. If you see a number not listed, you need the 2005 supplement.
Download the Factory Manual – not a copy of a copy. You need the torque data, the hydraulic pressure specs, and the electrical schematics that came from the same office that designed the machine. Every page is the real deal. Get the Manitou 150 AET2 2002 Repair Manual on your tablet or printed, and start working with the numbers Manitou stamped into the steel. No detours.




gearhead88 –
Excellent OEM spec sheet. It is very easy to read on my tablet without blur. A must-have for any Manitou 150 mechanic doing maintenance. I will recommend this shop to others.