Toyota Celica 1999 Service Manual – Factory Specs, No Guesswork
I’ve been turning wrenches for 28 years, and the first thing I ask a new hire is: ‘Show me the factory manual.’ If they hand me a Haynes or a PDF ripped from some sketchy site, I send them back. Especially for a Toyota. These cars have tolerances that make a Swiss watch look loose. The Toyota Celica 1999 Service Manual is the only source I trust for the ZZT230 and ZZT231 series. 815 pages of verified data, not somebody’s interpretation.
This manual comes from Toyota Motor Corporation, published July 14, 1999. It’s Volume 1 of the RM744U series, covering maintenance, preparation, specifications, and diagnostics. If you’re planning to tear into the engine internals, you’ll also need Volume 2 (Pub. No. RM744U2). But for 90% of the work a DIYer or shop will face – timing belt, brakes, suspension, electrical diagnosis – this is the book.
Toyota Celica 1999 Service Manual: Diagnostics and Specifications
The diagnostics chapter is laid out like a factory flow chart. You start with symptoms, then follow the logical tree. No skipping. Need to read trouble codes? It tells you which pins to jump on the DLC3. The specifications section lists everything from compression pressure (142–170 psi for the 1ZZ-FE) to valve clearance adjustment (intake 0.005–0.009 in., exhaust 0.010–0.014 in.). Want the torque for the oil pan? Factory says 7 ft-lbs – not the 13 ft-lbs some aftermarket manuals pull out of thin air. Page 1 shows the manual is identified as RM744U1; the actual spec tables start after the foreword. You get the exact numbers Toyota stamped on the engineering prints.
Maintenance and Preparation Procedures
Maintenance covers the 30,000-mile service intervals: oil change, coolant flush, spark plug replacement. Every step includes the required tool list – because using a generic oil filter wrench on a Toyota cartridge housing is how you crack the cap. Preparation tells you which Toyota Special Service Tools (SSTs) you need. For the crank pulley, you need SST 09213-58014 (or equivalent). Don’t improvise with a three-jaw puller; you’ll wreck the harmonic balancer threads. The manual even lists the Toyota part numbers for the tools, so you can order them fresh.
What Does the Foreword Tell You?
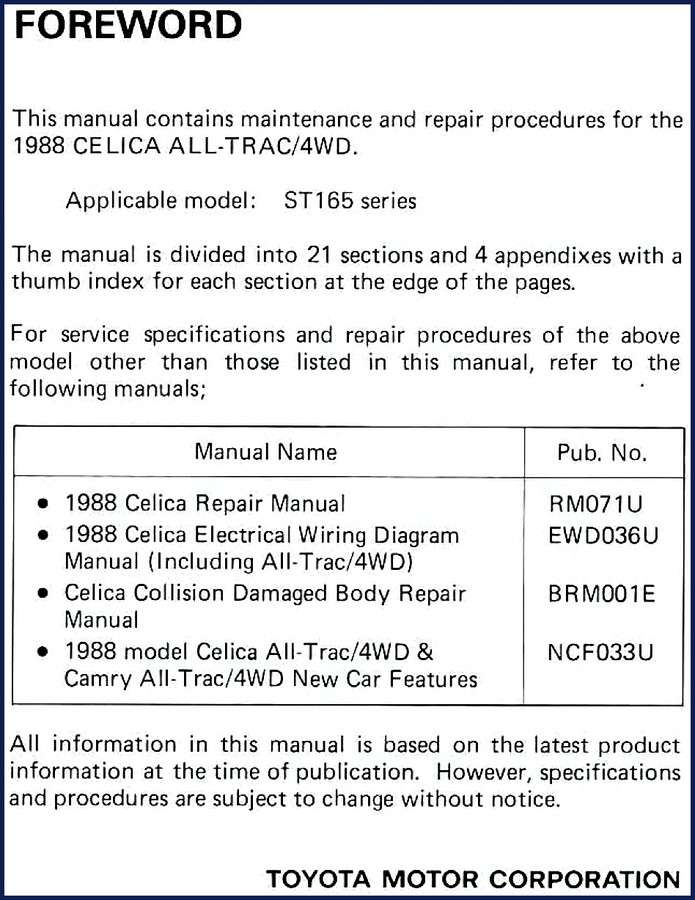
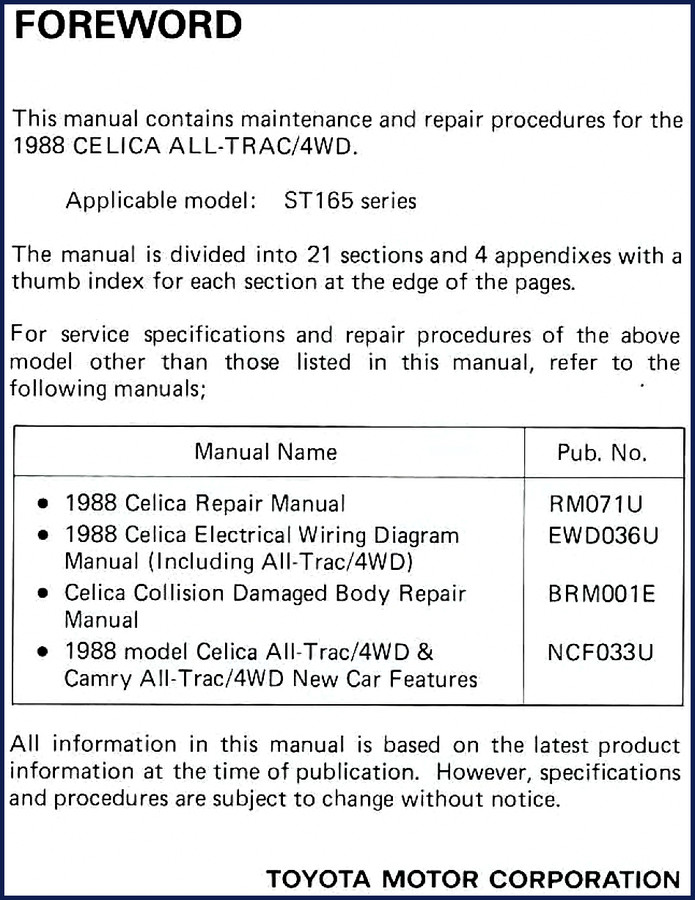
The foreword on page 3 is where most guys stop reading. Big mistake. It tells you that this Volume 1 only includes maintenance, preparation, specifications, and diagnostics. For engine and chassis repair, you need Volume 2 (RM744U2). It also lists related publications: the U240E automatic transaxle repair manual (RM749U), the 2000 Celica Electrical Wiring Diagram (EWD399U), and the New Car Features guide (NCF169U). If you’re swapping a transmission or chasing a wiring gremlin, you’ll want those supplements. The foreword also warns that specifications and procedures are subject to change – meaning Toyota updated parts mid-production. Always check the latest TSBs; the manual gives you the baseline.
The Caution: Why You Need to Read Page 5
Page 5 has a caution that makes me respect Toyota’s legal team. It states that this manual is intended for persons with special techniques and certifications. I agree 100%. If you’re a beginner, do not attempt a head gasket job on this car without oversight. The caution goes on: use specified tools, replace parts with the same part number, and never use inferior quality parts. I’ve seen knock-off timing belts snap at 30,000 miles. The manual also says you must read the PRECAUTION section in the ‘IN’ chapter before starting anything. That’s not a suggestion – it’s a step you skip at your own risk.
Aftermarket Manuals vs. OEM: A Hard Lesson
I can’t count how many junior techs bring me aftermarket specs that are flat wrong. On the 1ZZ-FE engine, one popular aftermarket manual listed the cylinder head bolt torque as 22 ft-lbs + 90°. Factory spec is 26 ft-lbs + 90°. That extra 4 ft-lbs matters. Stripped threads, blown head gaskets, comebacks. OEM documentation eliminates that. Toyota printed this manual in 1999 with the exact data from the engineering department. No guesswork, no copy errors, no generic diagrams. Every torque value, every wire color, every clearance – it’s all verified.
If you’re also working on other Toyota models, grab the Toyota Camry Celica Corolla Engine Performance Wiring Diagram for electrical troubleshooting. The Toyota Celica 1994 Repair Manual Supplement covers earlier generations, and the Toyota Celica Supra Workshop Manual is useful for shared drivetrain components. For a broader look at Toyota’s service standards, check the Automotive Industry Overview.
- Does this manual cover the 1ZZ-FE engine?
- Yes, but only diagnostic and maintenance procedures for the ZZT230 series.
- Can I use this for a 2000 model Celica?
- The manual is titled 1999 but covers the 2000 model year (ZZT230/231). Published July 1999. For a 1999 model year Celica, you need the 1998–1999 supplement. Check your VIN – the 10th digit tells the year. This manual fits 2000 models only.
- Is the electrical wiring diagram included?
- No. The wiring diagram is a separate publication: 2000 CELICA Electrical Wiring Diagram (EWD399U). The manual references it but doesn’t include the full color schematics.
- What torque specs are given in this manual?
- The specifications section lists standard bolt torque values for fasteners (e.g., 8mm bolts at 13 ft-lbs). Specific engine torque values like connecting rod bolts (26 ft-lbs + 90°) are noted in the diagnostics and preparation sections. For full engine rebuild torque, you need Volume 2.
Stop relying on forum advice and third-party reprints. You need data that came from the factory floor, not someone’s blog. Download the Factory Manual and put it on your phone, tablet, or printed binder. Your Celica – and your wallet – will thank you.
Reviews
There are no reviews yet.