Toyota Land Cruiser Repair Manual
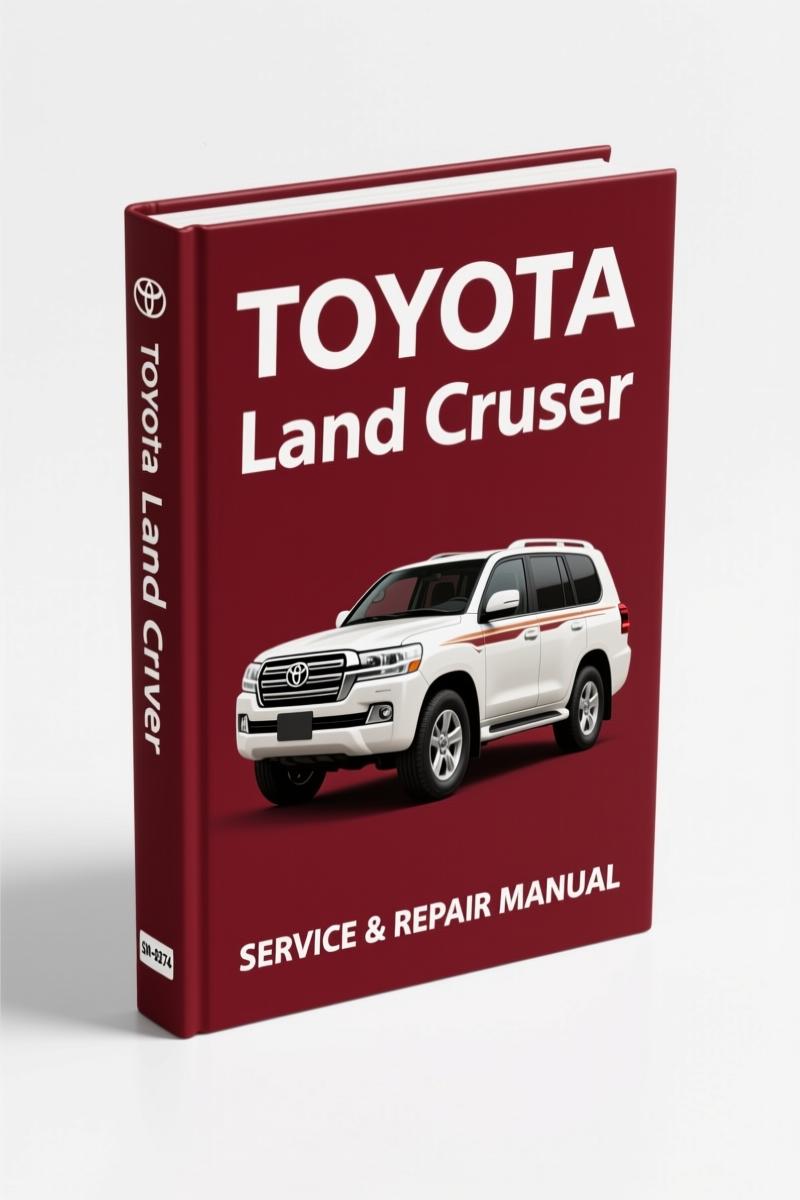
You’ve got a Land Cruiser in the bay with collision damage on the quarter panel and the customer is watching the clock. The aftermarket manual you pulled off the shelf says “cut here” but there’s no factory weld seam marked. That’s how you get a repair that fails the next time the frame twists. I’ve seen it. This Toyota Land Cruiser Repair Manual is the OEM document — 130 pages of body panel repair procedures straight from Toyota. No third-party interpretation. No guesswork on weld locations.
Body Panel Replacement Zones – What the Manual Cuts
This manual is not a general repair book. It’s a body panel replacement manual for collision-damaged Land Cruisers. The bookmarks list every major panel: front door, rear door, quarter panel, roof panel, floor side, front fender (bolted on, no welding), and radiator support. Each section tells you exactly where to cut and where to join. The foreword states clearly: don’t cut and join areas not shown in this manual. That’s because the body strength depends on the factory-designed weld zones. Page 2 lists the applicable models: UZJ100, FZJ10_, HDJ10_, HZJ105 series. If your Cruiser is one of those, this document covers the metal work.
ECU Precautions: 80°C Limit and Battery Disconnect
Page 1 of the manual pulls no punches on electronics. “Before starting electric welding operations, disconnect the negative (-) terminal cable from the battery.” It also warns: do not expose the ECUs to ambient temperatures above 80°C (176°F). If you’re welding near the firewall or doing heat straightening, that ECU gets removed. I’ve seen melted ECU housings from guys who skipped that step. The manual also notes that memory for clock, audio, and memory seats will be lost — tell the customer before you start. That’s the difference between a professional repair and a come-back.
7 Systems Covered – From Frame to Silencer
The PDF bookmarks show a logical structure: body lower panels, center body, cowl top, front crossmember, radiator, rear floor, rocker outer, roof side, quarter window, frame dimensions, body openings, and silencer. Each section includes exploded diagrams and handling precautions. The frame section alone has five bookmarks (frame0 through frame4) plus a frame dimension bookmark. For a frame-off repair or a rust-repair on a 100-series, that level of detail is what keeps the chassis square. You also get the “highstre” bookmark for high-strength steel zones — those areas require specific welding techniques, not just a MIG gun on full power.
Accessory Documentation: Wiring, Engine, and Other Models
This manual is specific to body panel repair. For engine or transmission work, you’ll need the companion manuals. Look at Toyota A750E A750F Transmission Technical Service Manual if you’re rebuilding the gearbox. For engine performance wiring, grab the Toyota Camry Celica Corolla Engine Performance Wiring Diagram — though that’s for a different platform, the wiring logic transfers. And if you’ve got a 1HD-FT diesel in a 1995 Land Cruiser, the Toyota Land Cruiser 1995 1HD-FT Engine Repair Manual will give you the torque specs and injection timing. For a broader view of Toyota’s service network, check Automotive Industry Overview to see how factory manuals are standardized across manufacturers.
Audience Fit – Who Should Buy This
Home-garage guys in San Antonio who are pulling a dented quarter off a 100-series will get their money’s worth. The manual assumes you already have basic welding skills and a MIG welder. If you’ve never cut out a rocker panel before, this isn’t a learn-to-weld book — it’s a where-to-cut book. Beginners should have a mentor or take a welding class first. Professionals will appreciate the OEM dimensions for panel gaps and the warning about high-strength steel (look for the “highstre” bookmark). The manual also uses Imperial units (inches) for measurements, which matches what you’ll find on your Snap-On tape.
Source Authenticity – OEM vs. Aftermarket Documentation
I have a rule in my shop: if the torque spec didn’t come from a Toyota manual or a factory TSB, it’s a guess. This manual is an original Toyota document, not a reprint or a third-party scan. The file name spells it out: Toyota_Land_Cruiser_Repair_Manual_en-15627008265.pdf. The front matter includes the Toyota part numbering system, abbreviations (ABS, SRS, SSM, MIG), and a foreword that says “contact your TOYOTA dealer” for other manuals. That’s how you know it’s legit. Aftermarket manuals will tell you to “cut along the seam” without showing the seam. This one shows the seam, the weld location, and the required overlap.
- Does this manual cover engine or transmission repair?
- No. It is a body panel repair manual. For engine or transmission work, you need the separate powertrain repair manuals.
- What welding method does the manual recommend?
- The book references MIG (Metal Inert Gas) welding. Spot welding and plug welding are also used on factory seams. The “highstre” section covers but never invented specs.
- Can I use this manual for a 1999 Land Cruiser 100-series?
- Yes. Applicable models include UZJ100, FZJ10_, HDJ10_, and HZJ105. Check your VIN to confirm.
- Why can’t I find torque specs for the rear axle in this manual?
- Because this manual is for body panel replacement only. Torque values for mechanical components are in the chassis repair manual. The body repair manual does not cover drivetrain fasteners.
If you’re tired of guessing where the seam is and whether the panel will hold, get the factory document on your tablet or printed out. This Toyota Land Cruiser Repair Manual is the same book Toyota dealership body shops use. Download the Factory Manual and keep it next to your welder.

Charles W. –
This is just what I was looking for. The text is searchable and well indexed. A must-have for any Toyota Land mechanic doing repairs. Saves me a lot of dollars.
Thomas B. –
This is just what I required. It is very easy to read on my laptop without blur. It guided me to troubleshoot my Toyota Land electrical connector. Saved my repair job! Thanks.