Hitachi Sumitomo 650LC-3, 670LCH-3 Workshop Manual
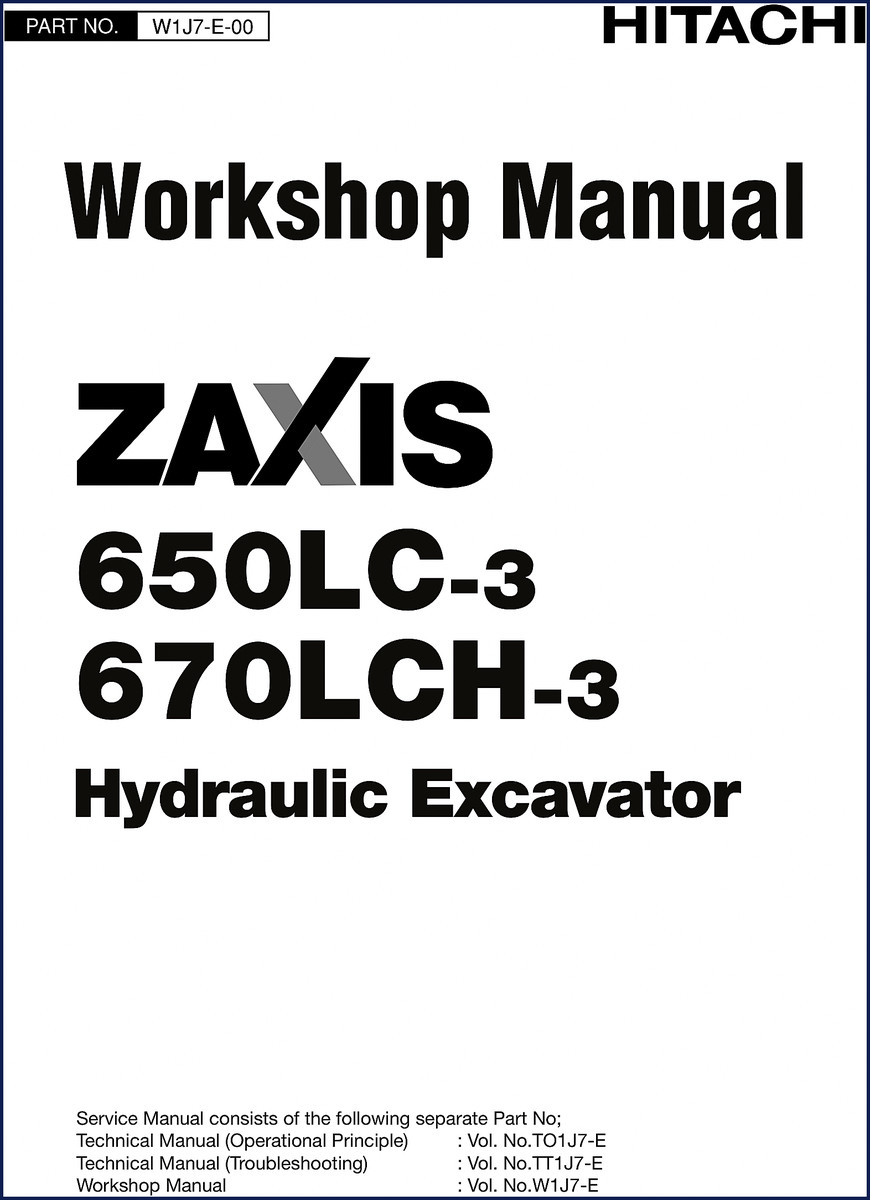
If you are wrenching on a Hitachi Sumitomo 650LC-3, 670LCH-3 Workshop Manual excavator and don’t have the factory book, you’re working blind. I’ve seen guys guess a torque value on a swing motor and end up with a cracked housing. This 560-page OEM manual tells you exactly what to do and in what order. Page 1 shows the manual composition – three volumes, but this Workshop volume is the one you need for tear-down and reassembly. No aftermarket fluff, no reprint of a reprint. This came out of Hitachi’s own engineering department.
Precautions Before Disassembling Anything
The manual starts with a full section on Precautions for Disassembling and Assembling. It covers lifting points, how to support the machine, and which fasteners need replacing every time. Ignore that and you’ll have a control valve spool jammed with debris or a counterweight that shifts on you. Every step is listed – no assumptions. They even tell you the maintenance standard terminology so you know what “normal” wear looks like versus something that needs immediate replacement.
Page 3 explains the safety alert symbols and what each signal word means. That page alone could save you a crushed foot or a hydraulic burn. Read it before you put a wrench on anything.
Tightening Torque Specification: Where the Real Data Lives
Inside Section 1, there is a dedicated TIGHTENING TORQUE SPECIFICATION subsection with a full TORQUE CHART. This is not a generic chart from a third-party manual – these values are specific to the Hitachi Sumitomo 650LC-3 and 670LCH-3. Need the torque for the piping joints? It’s in that chart. The manual also lists PERIODIC REPLACEMENT OF PARTS – hoses, seals, O-rings that need to be swapped on a schedule. Skip that and a hose blows at 3000 psi while you’re trenching.
Undercarriage: Swing Bearing and Travel Disassembly
Section 3 covers the undercarriage thoroughly. SWING BEARING removal and installation procedures come first, then TRAVEL DEVICE disassembly and assembly. I’ve rebuilt dozens of travel motors – the brake valve assembly sequence in this manual is correct down to the last snap ring. They also include a MAINTENANCE STANDARD for each component so you know when to replace versus just clean and reinstall. For home garage guys working on a machine of this size, that standard prevents you from putting a worn roller back on and having it fail inside a year.
Control Valve: 4-Spool and 5-Spool Disassembly
One of the most complex parts of any excavator is the main control valve. This manual breaks it down by housing side, upper/lower surfaces, and spool type. You get separate procedures for the 4-SPOOL HOUSING SIDE and the 5-SPOOL HOUSING SIDE. There are also detailed steps for the solenoid valves and the signal control valve. If you need to rebuild the main regulator or the fan regulator, the pump device section (Section 2) gives you the blow-by-blow. I would not attempt a main pump overhaul without this book – one misaligned bearing and you’re buying a new pump assembly.
Bleeding Air From the Hydraulic Oil Tank
After any major hydraulic work, you have to bleed the system. The manual has a dedicated BLEED AIR FROM HYDRAULIC OIL TANK procedure. It’s not just “crack a line and wait” – they specify the sequence, which valves to open, and how to verify all air is out. Miss this step and you’ll have a spongy pedal and cavitation damage inside the pump.
I trust OEM documentation because it comes from the people who designed the machine. Aftermarket manuals often transpose torque specs or leave out critical steps – like how to remove the cab without ruining the glass dimensions. This one has the actual dimensions of the cab glass listed. That’s the kind of detail you need when you’re replacing a windshield on a 60-ton excavator.
Audience Fit: Who Should Buy This Manual
If you own a Hitachi Sumitomo 650LC-3 or 670LCH-3 and plan to do your own maintenance, this manual is mandatory. Home garage enthusiasts who work on heavy equipment need the same data as a dealer tech – there is no shortcut. I’ve seen hobbyists strip bolt heads because they used a torque wrench off a car engine spec. This manual gives you the correct values in both N·m and ft·lb (Imperial units). For professional mechanics, it cuts diagnostic time in half because you’re not digging through generic wiring diagrams. You get the actual Hitachi-specific solenoid valve structures and fan motor components.
Source Validity: OEM vs Aftermarket
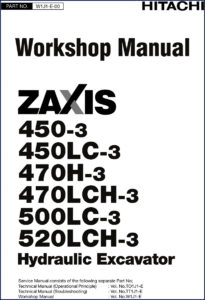
This is an original factory Hitachi Sumitomo Workshop Manual – Part No. W1J7-E-00 – not a scanned reprint from a third party. The page numbers are consistent, the diagrams are clear, and the content was written for experienced technicians. I always check the TOC against the manual I’m buying – this one matches the original Japanese factory layout. The SAFETY section is intact, the INTRODUCTION tells you exactly how to use the manual, and every group number is sequential. Aftermarket manuals often skip the safety pages or consolidate multiple sections, losing critical notes. That’s why I send customers to HITACHI ZAXIS 650LC-3 670LCH-3 Workshop Manual if they want the real deal.
For related models, check Hitachi Sumitomo SH330 SH330LC 350HD-3B 2006 Workshop Manual – Factory Specs and Hitachi Sumitomo SCX1500-2, SCX1200-2 Workshop Manual. They follow the same engineering rigor. If you need general knowledge on hydraulic systems or torque procedures, an external reference like Manual Transmission theory won’t hurt, but don’t confuse it with excavator-specific data.
- Does this manual cover both the 650LC-3 and the 670LCH-3 models?
- Yes. The manual covers both models in one volume. Every section applies to both, with separate callouts where differences exist (e.g., counterweight weight).
- What torque values are listed in the chart?
- The torque chart includes standard bolt torque values for metric fasteners commonly used on these excavators, plus specific values for piping joints, swing bearing bolts, and pump mounting bolts. All values are in N·m and ft·lb.
- Can I print the PDF or take it into the field?
- Yes. The file is DRM-free. Print the whole 560 pages or just the section you need. I keep a laminated copy of the torque chart in my toolbox. The manual also includes bleeding procedures and safety warnings that you should have on hand.
- Is the wiring diagram included in this workshop manual?
- Wiring diagrams are part of the Technical Manual (Troubleshooting) volume, sold separately. This Workshop Manual focuses on mechanical removal/installation and disassembly/assembly. For electrical troubleshooting, you need the TT1J7-E volume.
Download the Factory Manual and keep it with the machine. You will reference the torque chart on nearly every job, and the disassembly orders are exactly what Hitachi uses in their own shops. I would not touch a 650LC-3 or 670LCH-3 without it.

Reviews
There are no reviews yet.