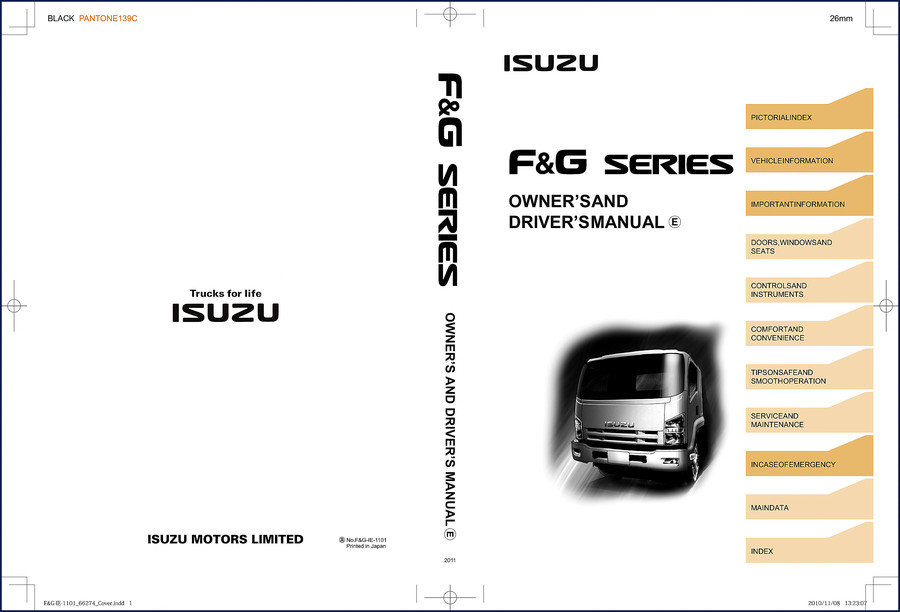
Isuzu F Series, G Series 2008 Workshop Manual – Wiring Diagram, LHD
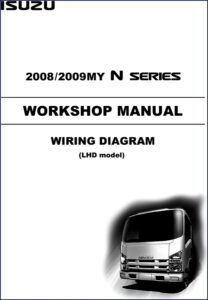
If you’ve ever chased a wiring fault on an Isuzu F Series or G Series truck using a generic diagram that shows the wrong wire color or missing connector pins, you know exactly why I’m writing this. That headache ends with the factory 2008 Workshop Manual for the wiring system. This isn’t a reprint or a compilation – it’s the OEM file, 222 pages thick, covering only the LHD model’s electrical circuits. The manual is broken into the section called “Wiring System (LHD model)” under Body, Cab, and Accessories. It doesn’t waste pages on engine mechanicals or brakes. Every page is dedicated to reading circuit diagrams, locating relays and fuses, tracing harnesses, and understanding the Controller Area Network (CAN). If you’re the kind of mechanic who uses a test light before replacing a module, this is your reference.
Wiring System (LHD Model): The Core of This 2008 Isuzu Manual
Open the table of contents and you’ll find a clear path. The manual starts with Electric Equipment basics: how to read a circuit diagram, what symbols represent connectors and diodes, and specific notes for working on electrical items – things like “never probe a connector from the wire side” if you want to avoid bent terminals. Then it dives into Main Data and Specifications, a section that alone is worth the price. It lists every fuse, fusible link, and slow-blow fuse location. You get relay locations and a relay list, diode locations, cab junction block connector location, and ground point circuits. The cable harness routing drawings show exactly where wires run behind the dashboard and along the frame. Need to find why the dome light stays on? Ground point location is on page 9D-? – find it in the table. No guessing.
Over 30 Circuit Diagrams for Key Systems
From the starter and charging system to the Immobilizer Control Unit (ICU), every circuit is drawn factory-style. Here’s a short list from the actual contents:
- Controller Area Network (CAN) circuit diagram
- Engine Control Module (ECM)
- Transmission Control Module (TCM/Smoother) and ZF Transmission
- Air Suspension Control Unit
- Electronic Hydraulic Control Unit (EHCU)
- ABS Control Unit and Hill Start Aid (HSA) system
- Supplemental Restraint System (SRS) airbag
- Headlight (halogen and manual leveling), fog lights, taillights
- Horn, backup light, Body Control Module (BCM)
- Power door locks, keyless entry, power windows, remote mirror/heater
- Dome/fluorescent light, roof-mounted clearance light, audio
- Cigarette lighter, seat belt, heater and manual A/C
- Exhaust brake, cab power tilt, differential lock, front drive, Power Take-Off (PTO)
- Immobilizer Control Unit (ICU), tachograph
That’s 30+ individually labeled circuit diagrams. Each one includes connector pin numbers and wire colors as they were on the assembly line. If you’ve ever tried to splice into a PTO harness without a diagram, you know the value of this.
Why Factory-Sourced Wiring Is Non-Negotiable
Aftermarket wiring books often rearrange pinouts or omit the ground-point tables. This manual is OEM Isuzu. The part number is embedded in the original file: ISUZU_F_Series-G_Series_2008_Workshop_Manual_Section_Audio_en-23028015410.pdf. No third-party editing. The Connector List at the back of the section gives every connector shape, number of cavities, and wire gauge. The Joint Connection and Weld Splice tables show exactly where wires are joined inside the harness – critical when you’re trying to isolate a short. I’ve seen techs replace a whole cab harness because they couldn’t find a weld splice; this manual shows the splices by circuit. That’s the difference between a two-hour diagnosis and a two-day parts cannon.
Connector Locations and Ground Points
Bad grounds cause more electrical gremlins than failed modules. This manual dedicates several pages to Grounding Point Circuit and Ground Point Location. It also includes the Cab Junction Block Connector Location, Connector Box Connector Location, and Junction Block Connector Location. When you’re troubleshooting an ABS light on a G Series box truck, you need to know exactly where the EHCU ground is bolted to the frame. The manual tells you. It also lists the Reference Table of Weld Splice so you can check continuity without tearing open the entire harness.
What This Manual Does Not Cover
This is not the full 2008 Isuzu workshop manual. It is specifically the Wiring Diagram section for LHD models. It does not include engine mechanical, brake system (air over or full air), transmission overhaul, or suspension details. If you need those, look at related manuals: 2008-2009 Isuzu F & G Series Suspension Workshop Manual for air suspension control, Isuzu F & G Series 2008-2011 Workshop Manual for the full set, or 2008-2009 Isuzu F&G Series 4HK1 Engine Control Manual for ECM diagnostics. The Electrical side, however, is complete – from the fuse box layout to the CAN bus circuit diagram. Isuzu’s place in the Automotive Industry Overview is built on reliability, and this manual keeps that reliability in your hands.
If you’re working on a manual transmission variant, the wiring for the TCM and ZF circuit is included. For a deeper understanding of manual transmission fundamentals, refer to Manual Transmission. But for the actual pinouts and wire colors, this factory manual is the final word.
FAQ
- Does this manual include engine mechanical specs?
- No. This is strictly a wiring diagram workshop manual for the LHD model.
- How do I use the circuit diagrams to trace a short?
- Start with the power distribution chart in the Main Data and Specifications section. The manual shows fuse, relay, and ground locations. Identify the affected circuit – say, the tail/stop/cornering light. Find its dedicated circuit diagram. Use the cable harness routing drawings to locate the physical wires. Then refer to the connector list at the back to identify pin numbers and wire colors. Check the joint connection and weld splice table for any splices in that circuit. Always disconnect the battery before probing. The ground point location table is essential – many intermittent shorts are actually corroded ground bolts. Follow the grounding point circuit diagram to ensure continuity back to the battery negative. This manual gives you every ground point location; there’s no need to guess.
Download the Factory Manual from AutoRepairManuals. This is the same PDF that Isuzu dealerships use. No condensation, no rewriting – just the original 2008 workshop manual for the F Series and G Series wiring. Get it now.


William H. –
I am so happy with this transaction. The PDF looks clean. Contains detailed bolt torque specs for Isuzu. Worth every penny.
workshop_guy –
I am extremely satisfied with this purchase. The scan is high-quality and well indexed. Every wiring layout is included for Isuzu . Highly recommended for mechanics.
Robert T. –
Great buy! The scan is high-quality and easy to navigate. A must-have for any Isuzu owner doing repairs. Saved my weekend project! Thanks.